


This section is part of the GROMACS Wizard tutorial.
GROMACS Wizard allows you to launch GROMACS computations for NVT Equilibration, NPT Equilibration, Production Molecular Dynamics Simulation steps in the Cloud in just a few clicks.
In this section, you will learn how to launch GROMACS computations in the Cloud from GROMACS Wizard on an example of the NVT Equilibration step. This procedure is the same for NPT Equilibration and Production Molecular Dynamics Simulation steps.
Prerequisites
Before going further, please first read the associated sections of the tutorial on launching local computations: NVT Equilibration, NPT Equilibration, Production Molecular Dynamics Simulation.
Before launching a computation in the Cloud, please make sure that you have at least 1 computing credit in your SAMSON Connect account. You can check the number of credits you have in two ways:
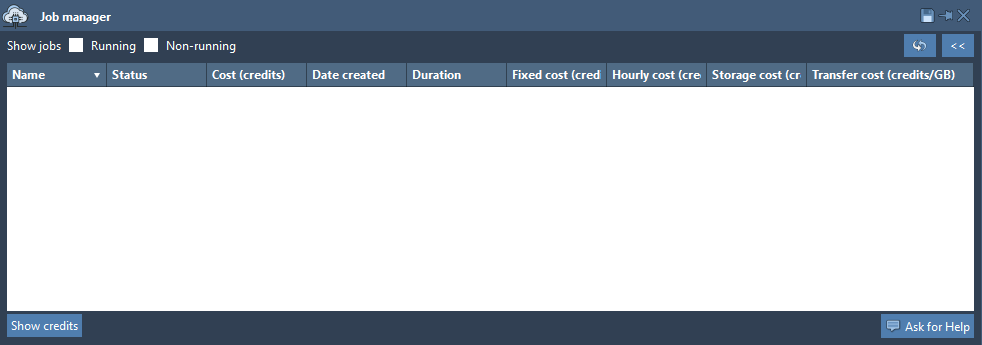
- In SAMSON: open the Job manager (Interface > Job manager or Ctrl/Cmd⌘ + 6) and click the Show credits button.
- On SAMSON Connect: sign in and go to My account – you should see the number of credits you have on this page.
If you need credits, you can always buy them on SAMSON Connect: Buy computing credits.
Performing computations in the Cloud
In this section, we assume that the Input structure and the equilibration/simulation parameters were specified. If not, then please first read the following sections of the tutorial: NVT Equilibration, NPT Equilibration, Production Molecular Dynamics Simulation.
Check the system
This step is optional but recommended.
Before launching a computation in the Cloud, we recommend trying to launch it locally for a few tens or hundreds of steps to verify whether there are any issues with the system. If your machine does not support launching the job locally, e.g. due to the system’s size, you can click Generate inputs to try to generate input files – this will also check for some possible issues.
Create the job
To launch computations in the Cloud, click the Equilibrate in the cloud / Simulate in the cloud button (depending on the step). A dialog will pop up, asking you to choose the machine type. In this dialog, you can choose the machine that you would like to use for computations, the storage size, and the costs of the machine and the storage. Please note that only machine and storage costs are charged, the transfer of files is free.
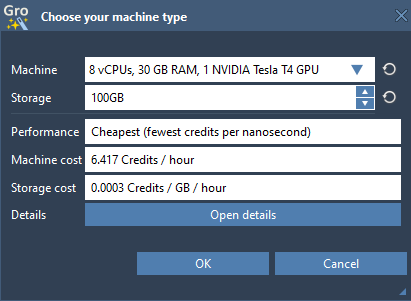
Click the Open details button to see all the available machines: their characteristics and pricing. In the Performance column, you can see some hints. Click OK to close it.

For the tutorial, and for testing, we recommend selecting the machine with 4 vCPUs and no GPU. It is the slowest (but cheapest) and is suitable for testing. Select this machine as shown in the image below.
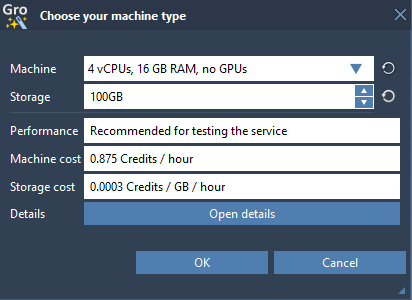
Click OK to proceed.
Confirm the job
Once you have chosen the machine and clicked OK, a security dialog will appear asking you to confirm the launch of the job in the Cloud. This is a special security dialog that provides you with the job’s details, including the pricing.
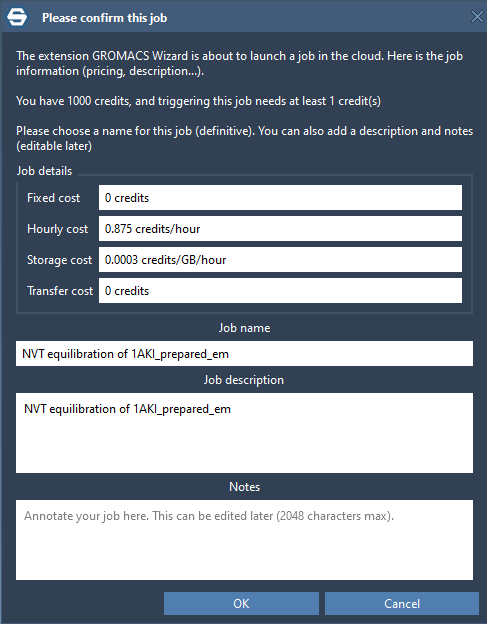
In this dialog, you can see the number of computing credits you have. Please note that triggering a job in the Cloud needs you to have at least 1 computing credit in your account, but this doesn’t mean that 1 credit will be withdrawn (this is a precaution to ensure the launching of the job in the Cloud), it can be less.
In this dialog, you can also modify the job’s name, description, and add some notes.
Click OK to confirm the submission of the job to the Cloud.
Job initialization
Once you confirm the job, SAMSON will open the Job manager and automatically start the job initialization. During the initialization process, the job files are automatically prepared and copied to the Cloud storage. Please make sure to check the Running checkbox in the top part of the job manager to display all the jobs that are being initialized or running. You can sort the jobs by various columns.

Note: you can open the Job manager any time you want via Interface > Job manager or via shortcut Ctrl/Cmd⌘ + 6.
In the Job manager, the jobs are listed on the left. You can access the job’s details by clicking the >> button (to hide the part with details, click the same button again). In this part, you can see all the details on your job: creation date, current progress, description, notes, pricing. In the image above, you can see the Progress part highlighted in green.
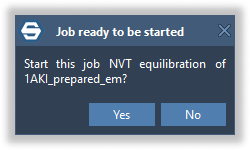
Start the job
Once the job’s initialization is finished and the job is ready to be started, a pop-up dialog will appear asking you to confirm the start. Click Yes.
Now, in the Job manager, you should see that the status of the job has changed to Starting. After a little moment, it should change again to Running.
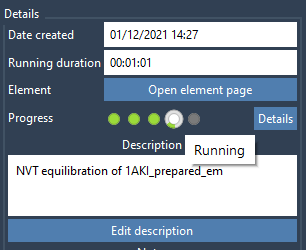
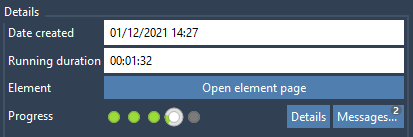
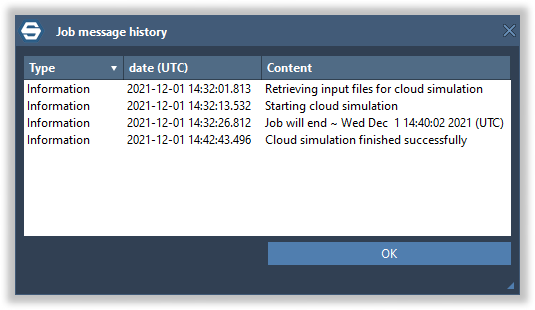
In a moment, new messages should appear on the same line as the Progress indicators. Click the Messages button to check them.
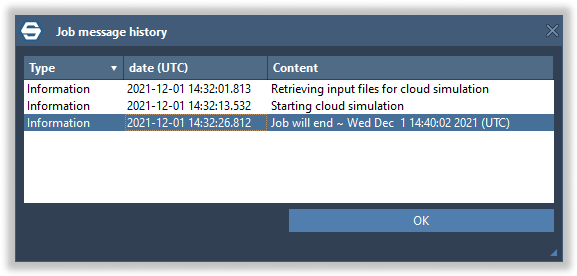
This will open the Job message history window. In this window, you should see the estimated date and time when the job will be finished. This is a time estimated by GROMACS. Please note that this time might be updated. For the system in the tutorial, the simulation in the Cloud in the slow testing machine will take about 10 minutes. Usually, for such systems, short simulations like these are faster to perform locally, but we launch in the Cloud for the sake of the tutorial.
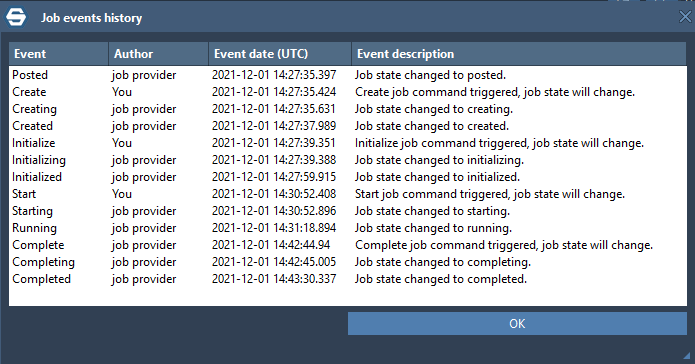
 To see more detailed information on the job, click the Details button. This will open the Job events history window.

While the computations are running in the Cloud, you can do other things in SAMSON or even close it – you will be able to access the jobs using the Job manager the next time you launch SAMSON. The job information is stored using the SAMSON Connect Cloud Service, and the job results will be stored in the Cloud storage.
Pausing or canceling a job
While the job is running in the Cloud, you can always pause it or cancel it. To do so, choose the job from the job list and click on the associated option in the context menu. You can restart a paused job at a later time.
Completed job
Once your job is completed, you will receive an e-mail with a notification about that, as well as a new message in the Home > News inside SAMSON.

Open the Job manager (Interface > Job manager or Ctrl/Cmd⌘ + 6) and check your job in the job list – it should have the status Completed. Please make sure to check the Non-running checkbox in the top part of the job manager to display all the completed or canceled jobs. You can sort the jobs by various columns.
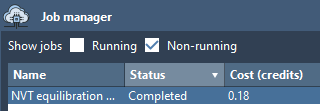
You can see the cost of the job (in computing credits) in the respective column (in the image above: 0.18).
In the job details, you should see that the Progress has changed to indicate that the job has finished.
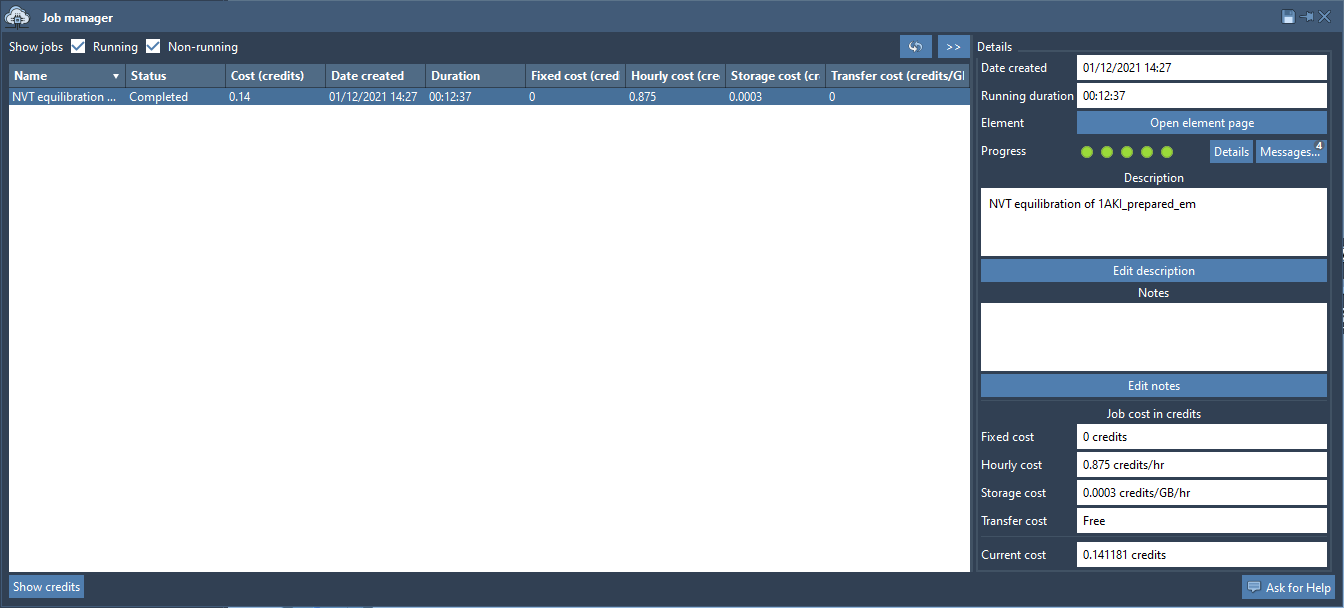
In the job details, click the Messages button to check for the messages. From the messages, also, we can see that the job has finished successfully.
 To check more details on the job, click the Details button.
Download the results
Now we can download the results of the computations from the Cloud.
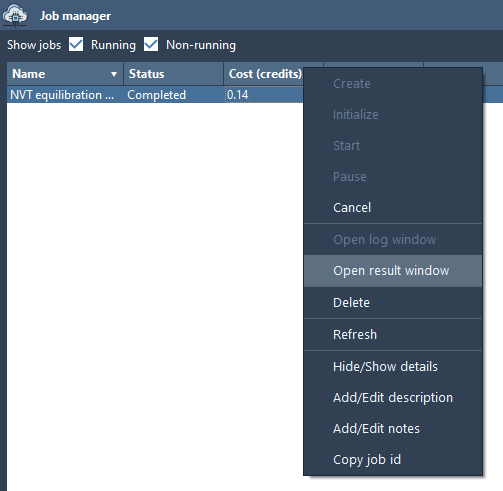
To download the job’s results, open the Job manager, double-click on the job or click Open result window in the job’s context menu.
This will open the Job files window, allowing you to download the results and import them.
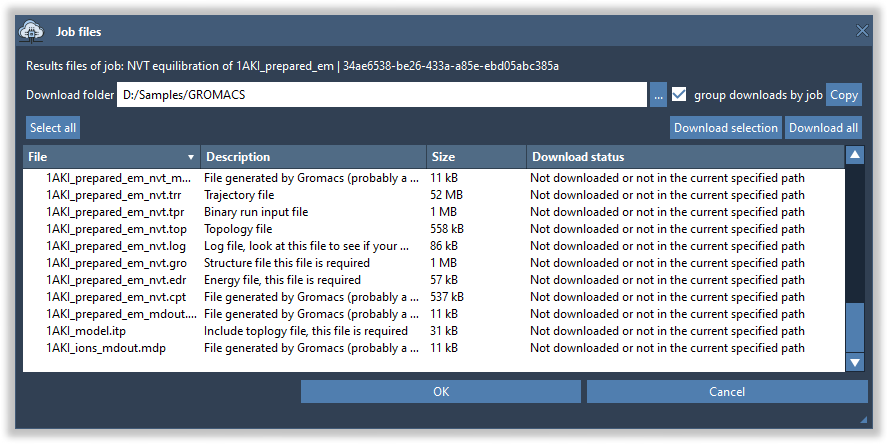 First, choose the download folder where you would like the job results to be downloaded. You can use the Copy button to copy the path to the resulting folder later.
You can use the Job files window to download results, in different ways:
- Download one or more files via their context menu (choose files and click Download in the context menu).
- Select files in the list and click the Download selection button.
- Download all files by clicking the Download all button.
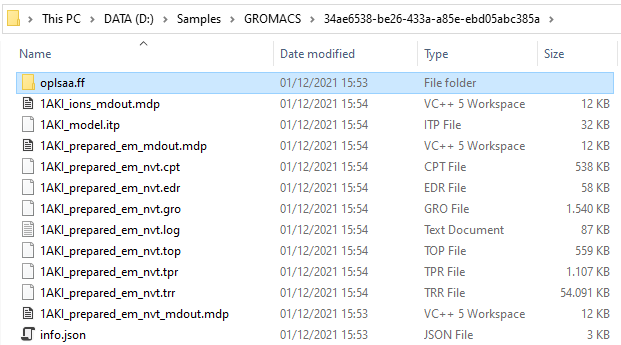
We recommend downloading all the files since many of them are needed when processing the trajectory or importing results in SAMSON. Please note that the transfer of files is free.
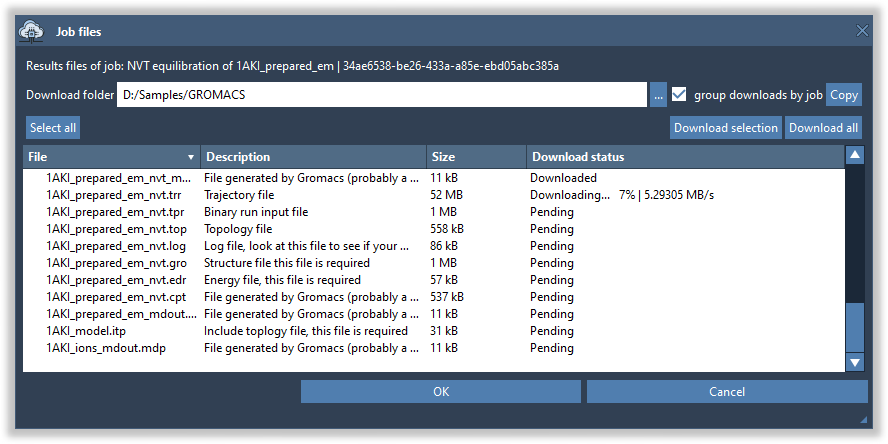
Now, click the Download all button. This will start the download process – you can see the download status for each file in the associated column (see the image below).
 The job files that were not downloaded will be still available next time you launch SAMSON – the results are stored in the Cloud storage. One you have downloaded all results and you no longer need to keep them in the cloud, however, we recommend deleting the job and its files (see below in the Delete job section).
Once a file has been downloaded, you can access various commands in its context menu.
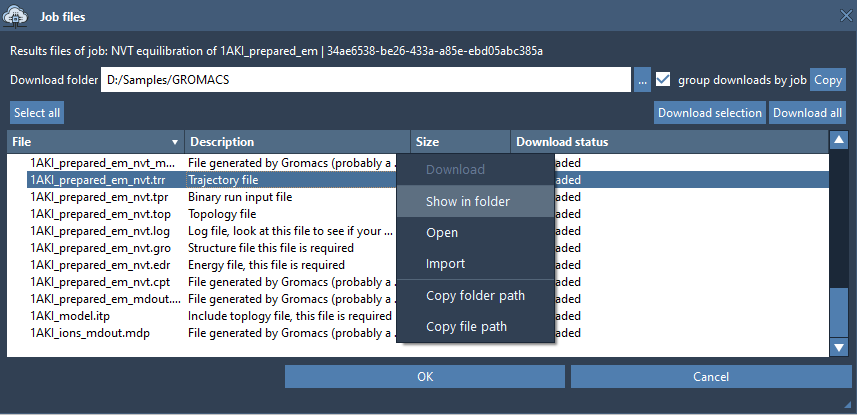 Show in folder – opens the folder with the file in the default file explorer of your OS.
Open – opens the file using the associated viewer in your OS, it is useful for opening text files (e.g. txt, log).
Import – imports the file in SAMSON, it is applicable to all the files which can be opened in SAMSON, e.g. gro, xtc, trr, pdb.
Copy folder path – copies the path to the folder containing the file to the clipboard.
Copy file path – copies the path to the file to the clipboard.
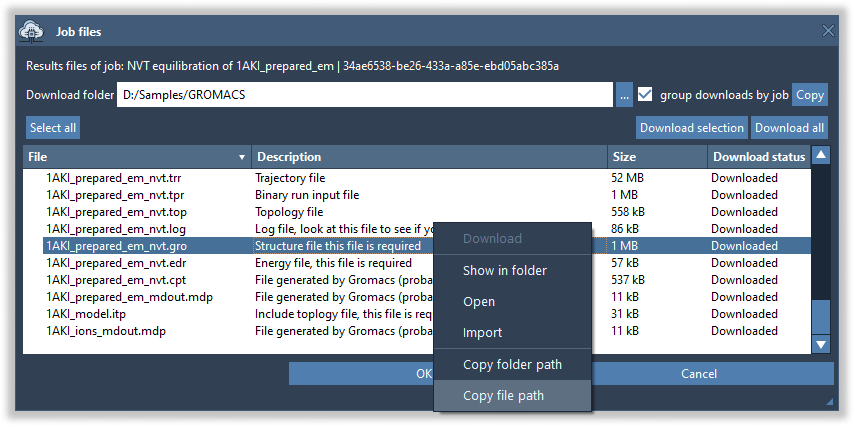
The latter command is useful, for example, to copy a path to the resulting GRO file to set it as the Input structure for the next step.
Import results in GROMACS Wizard
Once the results are downloaded, you can import them in GROMACS Wizard.
In the Job files window, click the Copy button to copy the path to the folder with results.
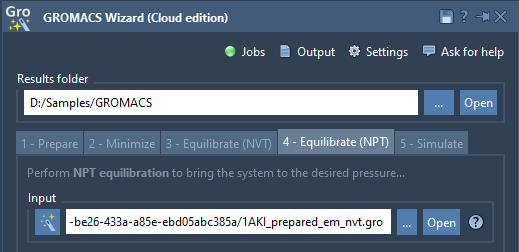
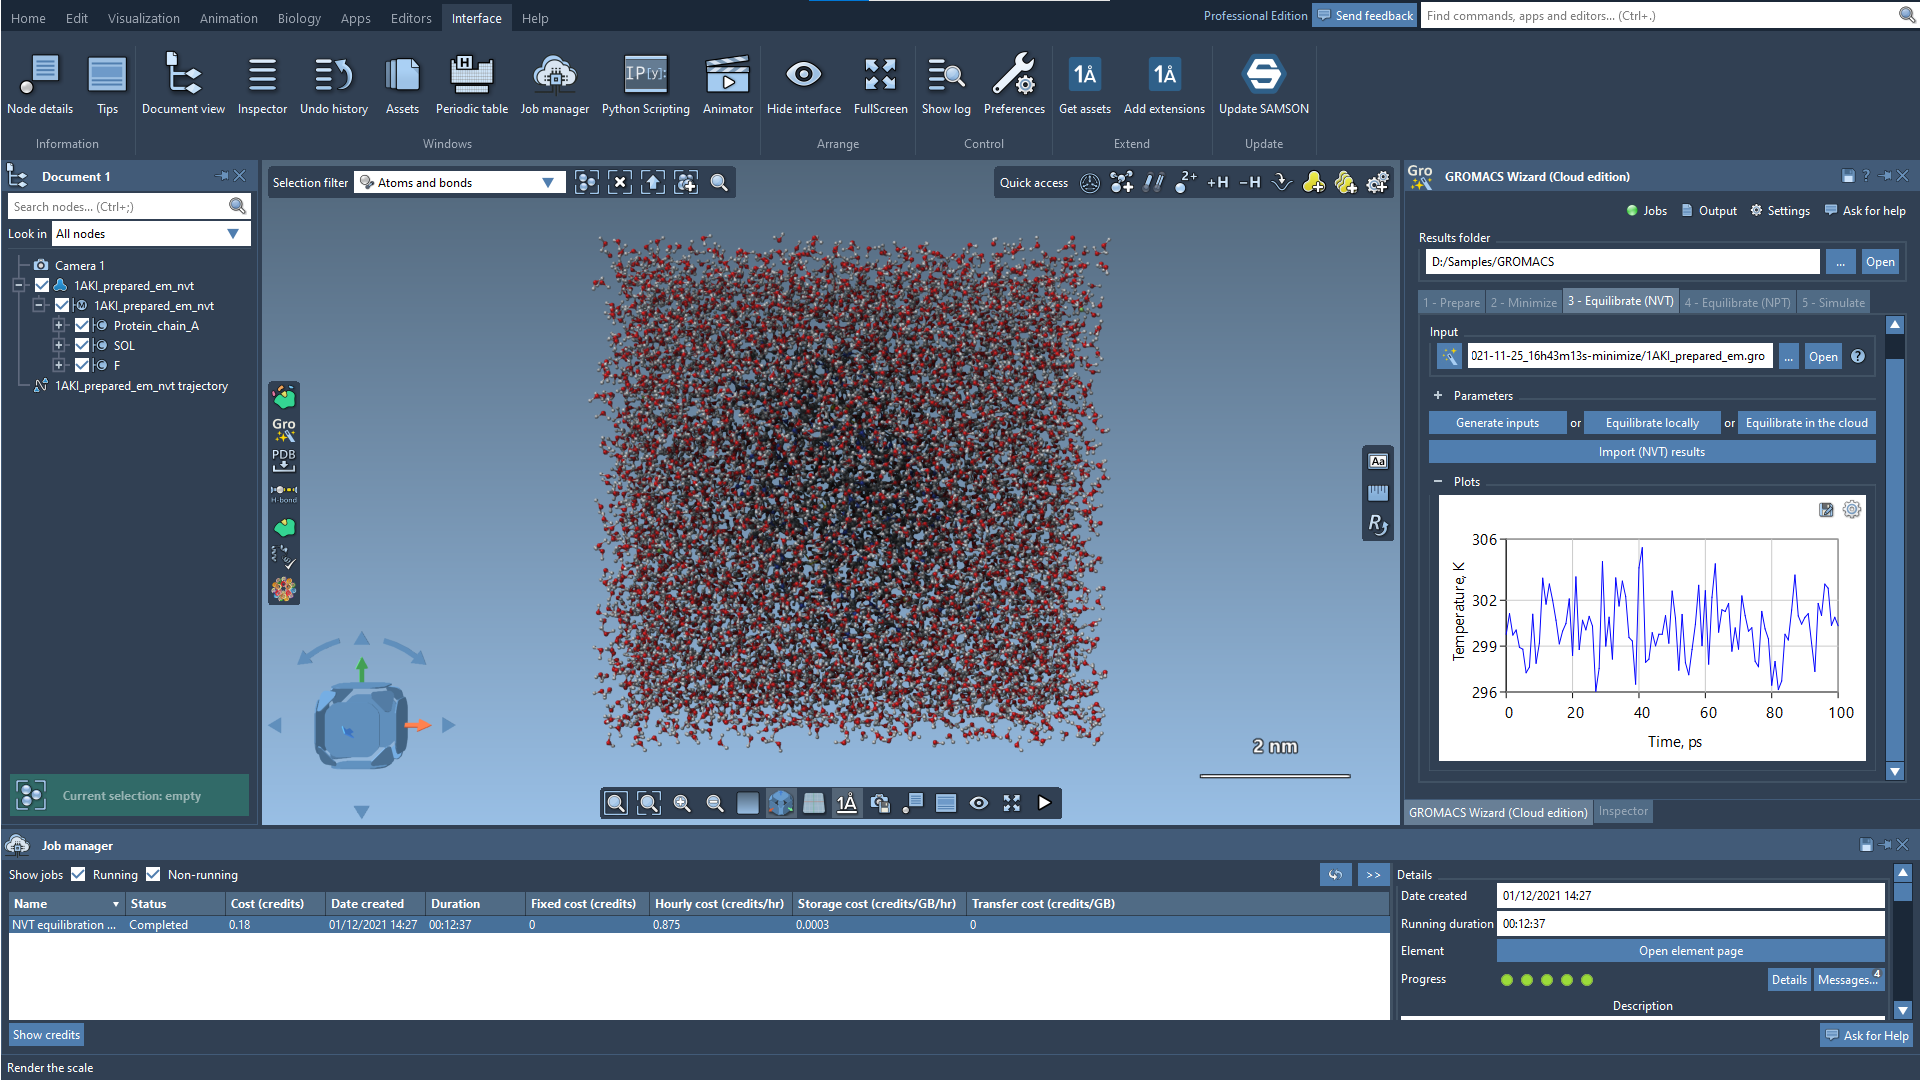
Now, in GROMACS Wizard go to the tab associated with the job, e.g. for this NVT Equilibration job go to the Equilibrate (NVT) tab and click the associated Import (*) results button.
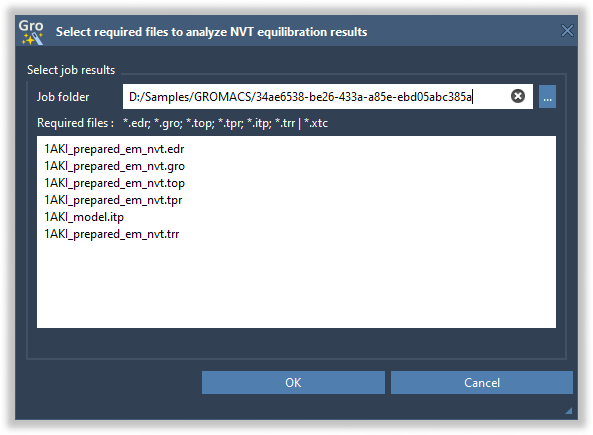
This will open a dialog where you will need to choose the folder from which you would like to import results. Paste the path you copied just before. This should immediately show the list of files that will be imported. Click OK to import the trajectory and create plots.
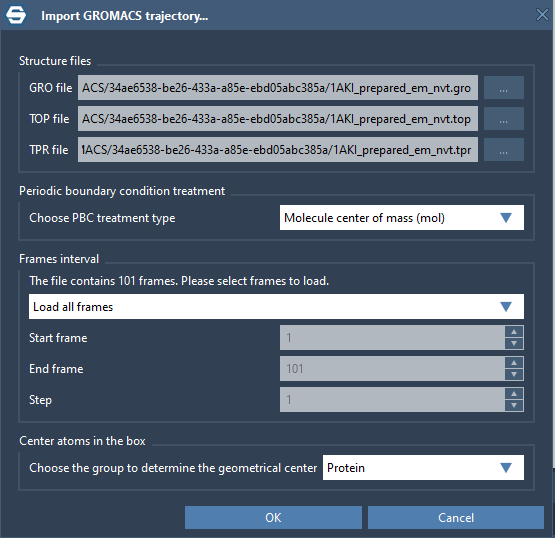
Depending on the step (equilibration or production molecular dynamics simulation), there might be various pop-up dialogs asking for plotting and trajectory importing options – please see the associated NVT Equilibration, NPT Equilibration, Production Molecular Dynamics Simulation sections on importing results for more information. In the image below, you can see an example of a trajectory import dialog. Click OK if you would like to import the trajectory.
This will load the trajectory as chosen by you and will generate plots depending on the step.
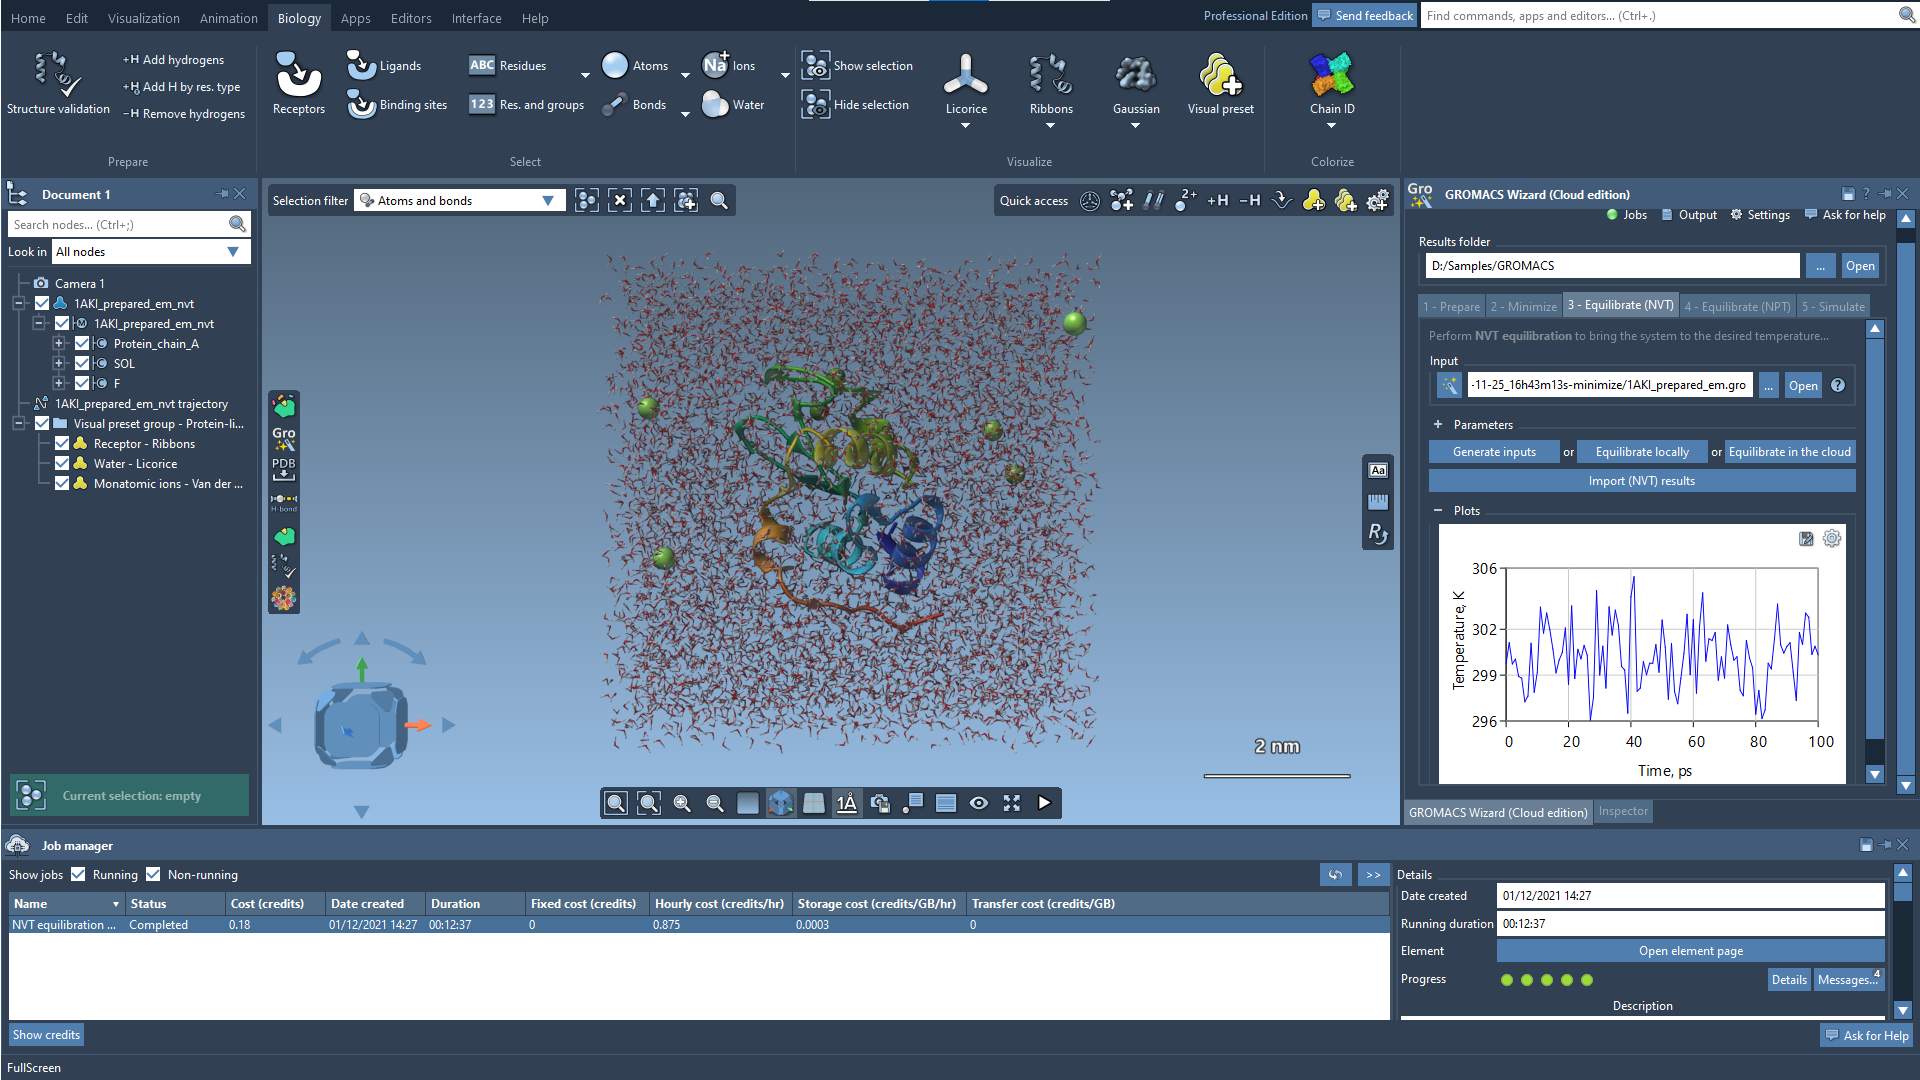
You can apply a visual preset of your choice (Biology > Visual preset) or apply visual models directly.
Delete the job
Once you download results and you do not need the job files to remain in the cloud anymore, you can delete the job using the Job manager.
The job results are stored in Cloud storage and while the storage price is very low, we recommend deleting the jobs that you no longer need because the storage cost will start to be deducted from your computing credits after some time. You can see the storage cost in the job’s details in the Job manager.
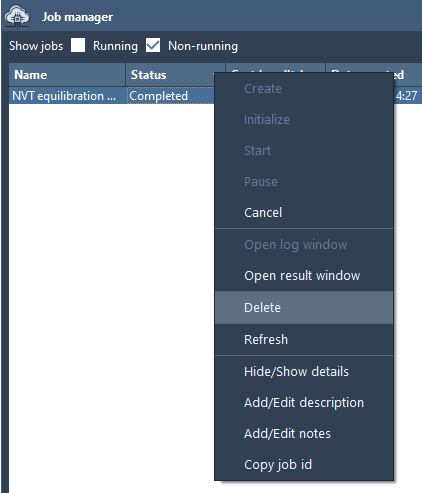
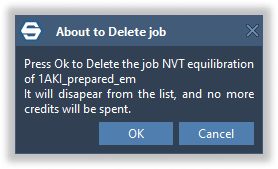
To delete a job, open the Job manager, choose among the jobs the one that you would like to delete, right-click on it, and press Delete in the job’s context menu.
A pop-up dialog will appear asking you to confirm the action. Click OK if you really want to delete the job.
In a moment, a job should be deleted and removed from the jobs list, but you might still be able to see the job’s details on the right side of the Job manager – there you can see in the Progress that the job has been deleted (or is still in the process of being deleted), you can click Details to see more detailed information.

If you have any questions, please do not hesitate to contact us via our Forum.