

To open the Preferences panel: Interface menu > Preferences or Ctrl + K on Windows and Linux or Cmd⌘ + on Mac.
Preferences are organized in several categories visible on the left side of the panel.

If the “Automatically test” check box in the bottom part of the Preferences panel is checked, the changes in preferences immediately affect the interface and rendering.

Editors
Add
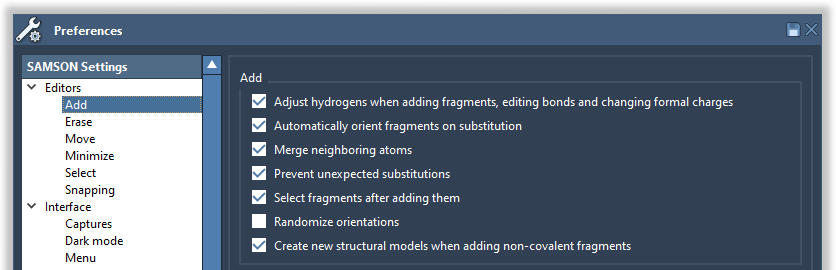
In the Editors > Add section of the Preferences panel you may modify the Add editor settings.
Erase
In the Editors > Erase section of the Preferences panel you may modify the Erase editor settings.

Move
In the Editors > Move section of the Preferences panel you may modify the Move editors settings.

Minimize
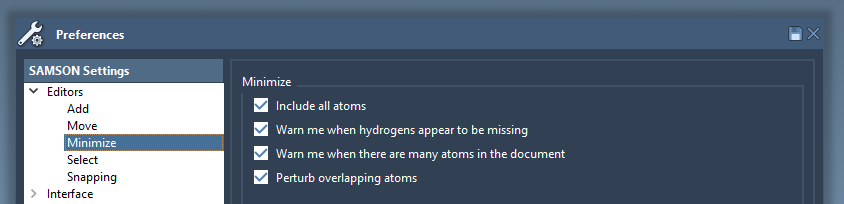
In the Editors > Minimize section of the Preferences panel you may modify the settings for the interactive minimization.
Select
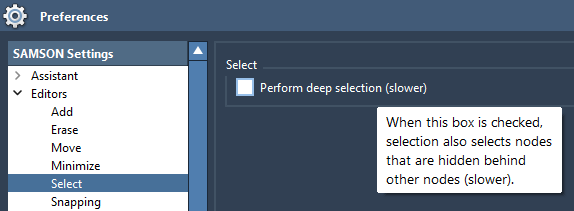
In the Editors > Select section of the Preferences panel you may modify the Select editor settings.
Snapping
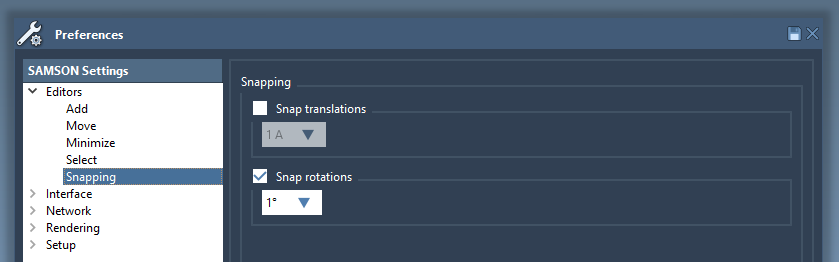
In the Editors > Snapping section of the Preferences panel you may modify the snapping settings which are used in some move editors.
Interface
Captures
The preferences for the captures of the viewport may be changed in the Interface > Captures section of the Preferences panel:
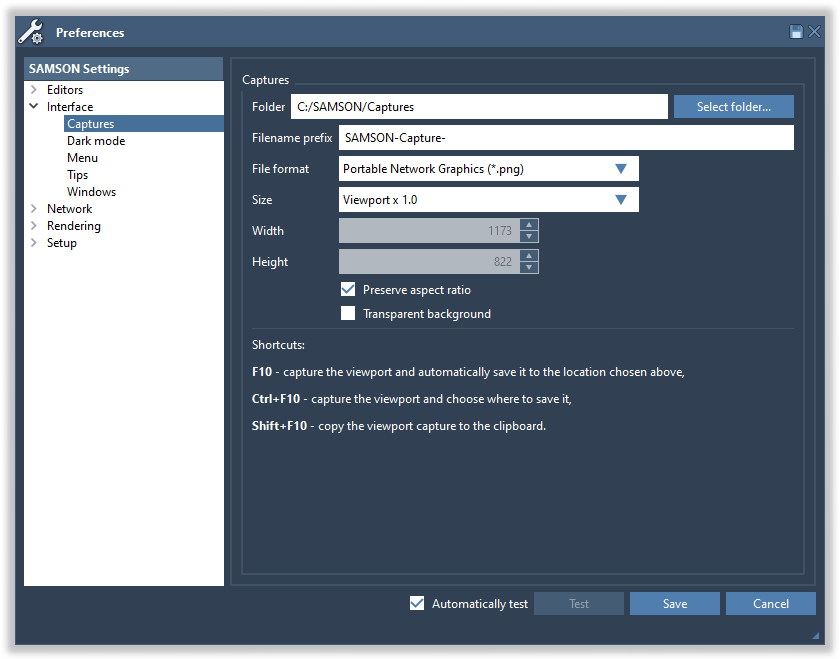
This section lets you choose the folder in which captures are saved when pressing F10 , the prefix used in filenames (prefix to which is appended an integer denoting the capture index), the file format (jpg, png or bmp), and the size (custom, or a multiple of the viewport size).
The “Preserve aspect ratio” box may be checked to maintain proportions when changing the width or the height of the capture.
The “Transparent background” box may be checked to remove the background from the image when saving with the png format.
Dark mode
In the Interface > Dark mode section of the Preferences panel you may switch to the Dark mode version of the interface and back.

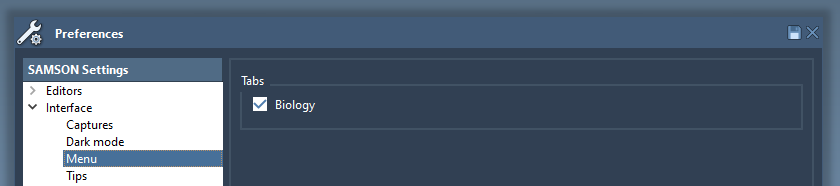
Menu
In the Interface > Menu section of the Preferences panel you may toggle showing of some specialized menu tabs.
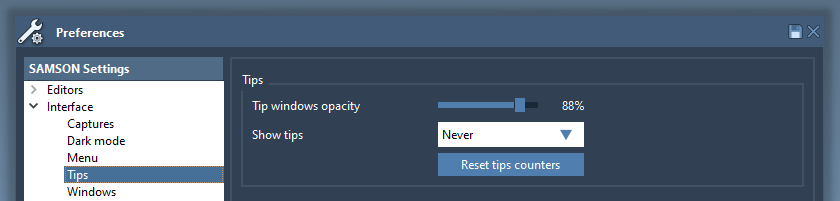
Tips
In the Interface > Tips section of the Preferences panel you may modify the tips settings.
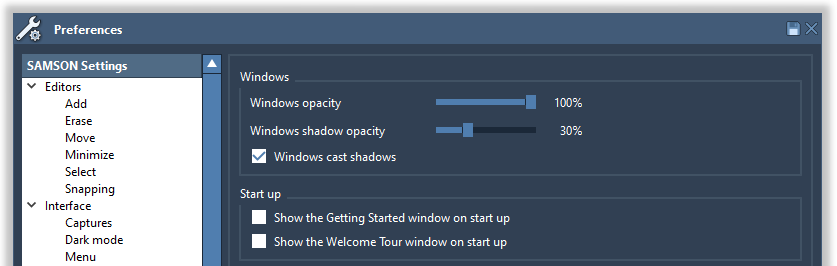
Windows
In the Interface > Windows section of the Preferences panel you may set the following preferences for the windows: opacity, casting of shadows.
Network
Proxy
If you need to specify the proxy settings, you can do it in the Network / Proxy section of the Preferences panel:
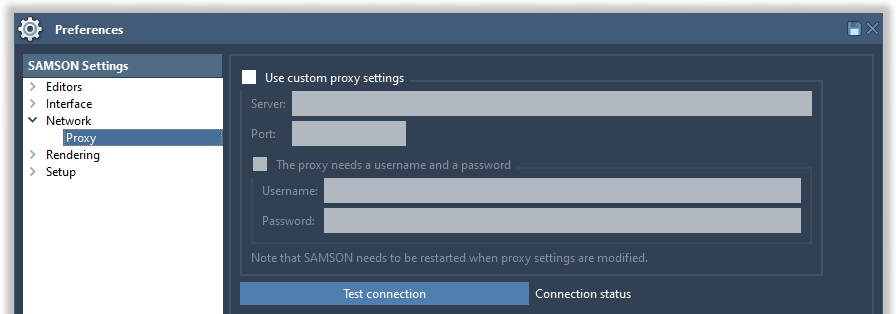
This settings are useful if you are using a proxy to access the Internet.
Rendering
Ambient occlusion
The ambient occlusion settings may be changed in the Rendering > Ambient occlusion section of the Preferences panel:
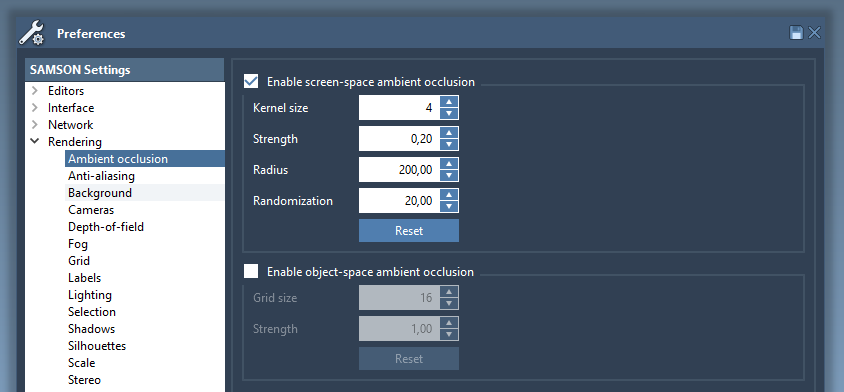
Ambient occlusion improves the perception of depth in molecules, by simulating the fact that deeper regions are less accessible to light, and are thus darker.
Two types of ambient occlusion are handled in SAMSON:
- Screen-space ambient occlusion efficiently provides an approximate simulation, but is sensitive to the distance to the camera.
- Object-space ambient occlusion is more realistic, but slower.
Even the screen-space ambient occlusion is very useful to improve the depth perception however.
Anti-aliasing
The anti-aliasing settings may be changed in the Rendering > Anti-aliasing section of the Preferences panel:
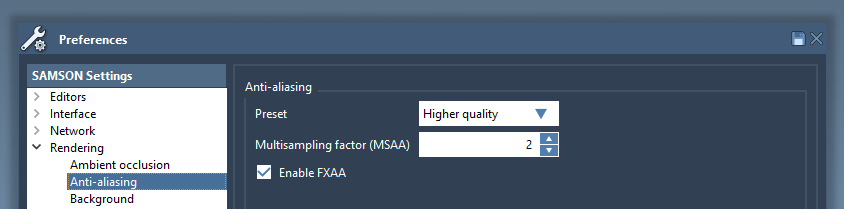
Anti-aliasing removes jagged edges from images and may significantly improve rendering.
Fast Approximate Anti-Aliasing (FXAA) is typically very efficient and can be activated on most recent graphics cards.
Background
The background of the viewport may be changed in the Rendering > Background section of the Preferences panel:

Four options are available:
- SAMSON: the default SAMSON background
- Black: an entirely black background
- White: an entirely white background
- Custom: a gradient from a user-defined top color to a user-defined bottom color
Bloom
The bloom settings may be changed in the Rendering > Bloom section of the Preferences panel:
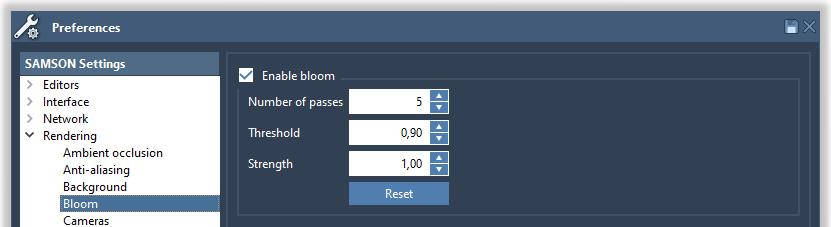
The Bloom effect adds a controllable “halo” around the brightest parts of the image to simulate imaging artefacts, which may add realism to images.
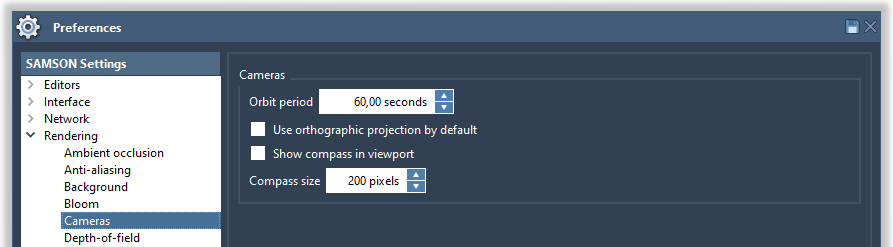
Cameras
The cameras settings allows you to switch on/off the orthographic projection (it can also be modified for a camera in the inspector):
Depth of field
The depth of field settings may be changed in the Rendering > Depth of field section of the Preferences panel:
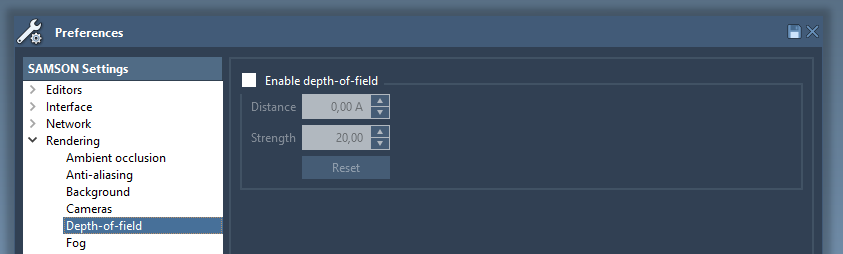
This effect simulates the depth of field effect produced by actual cameras (e.g. blurred distant objects). If enabled, when you zoom on the molecule its distant parts will be blurred.
Fog
The fog settings may be changed in the Rendering > Fog section of the Preferences panel:
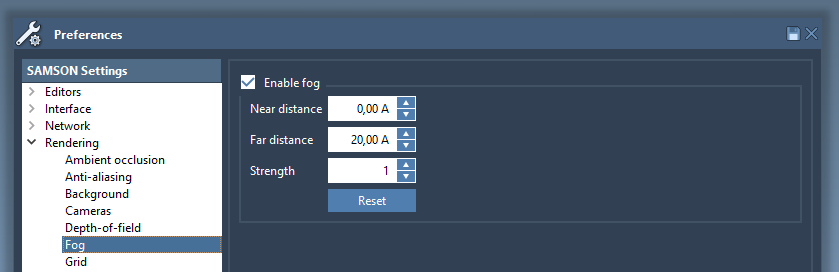
Basically, fog makes distant objects less visible. Fog attenuates distant parts by blending them progressively with the background. Turn it on to make it easier to focus on the foreground.
The near and far distances are based on the camera location and determine where the fog is enabled. Before the "near distance" there is no fog, after the "far distance" every node is invisible. The "strength" parameter influences the speed at which the fog is appearing.
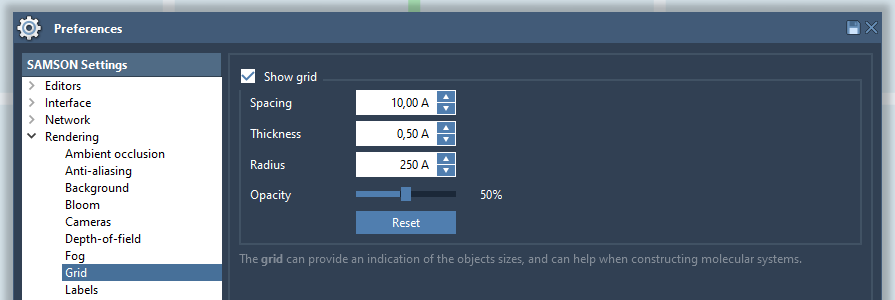
Grid
The grid settings may be changed in the Rendering > Grid section of the Preferences panel:
Labels
The labels preferences may be changed in the Rendering > Labels section of the Preferences panel:
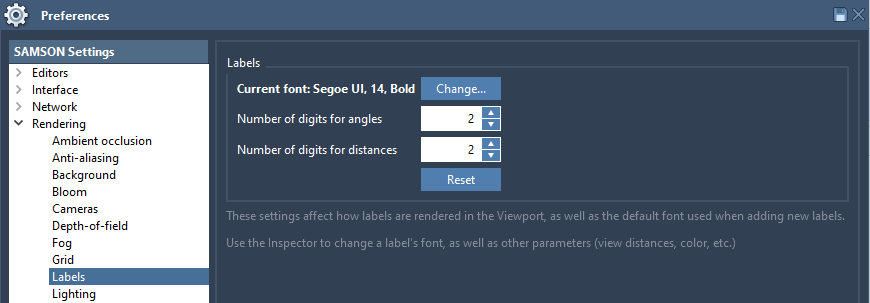
You can specify the font for labels and the number of decimal places for angles and distances shown in labels.
Lighting
The lighting parameters may be changed in the Rendering > Lightning section of the Preferences panel:
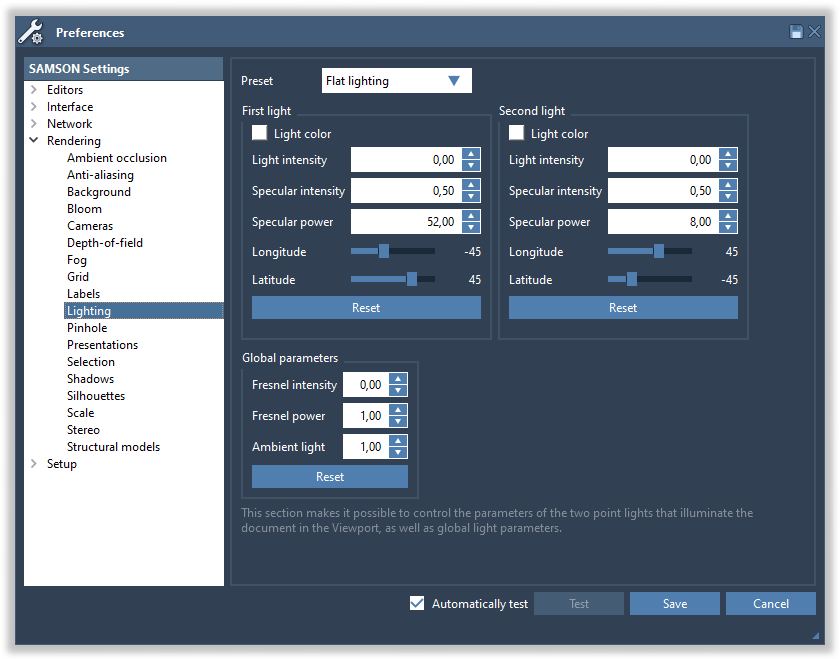
This section makes it possible to control the parameters of the two point lights that illuminate the document, as well as global parameters. Each light has the following parameters:
- Light color: click the square to change the color of the light
- Light intensity (between 0 and 1): the intensity of the light
- Specular intensity (between 0 and 1): the intensity of the light reflection on surfaces. High values make surfaces look like plastic, while low values make surfaces look matte.
- Specular power (between 0 and 1000): the decay of specular reflection. High values produce sharper specular reflections.
- Longitude and latitude control the position of the light.
The first light is typically the main light, which is thus typically brighter than the second light (a “back light”).
Finally, three more parameters are global:
- Fresnel intensity (between 0 and 1): the amount of background light reflected at grazing angles
- Fresnel power (between 0 and 100): how fast the Fresnel effect decays
- Ambient light: the amount of light that reaches objects, even when the intensity of both lights is set to 0.
Path tracing
The path tracing settings may be changed in the Rendering > Path tracing section of the Preferences panel:
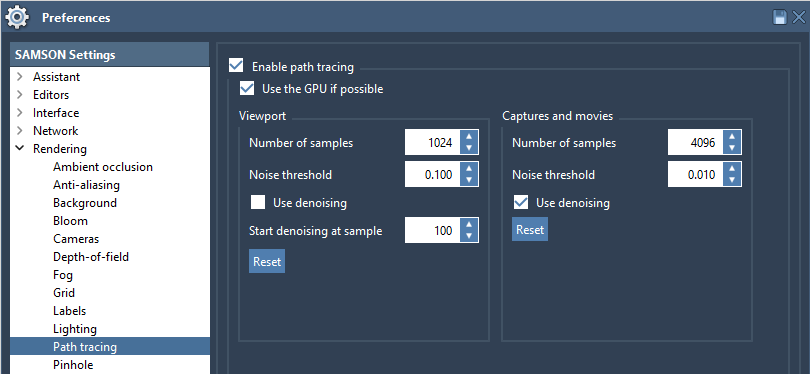
The path tracing settings affect how rendering with Cycles is done.
Pinhole
The pinhole settings may be changed in the Rendering > Pinhole section of the Preferences panel:
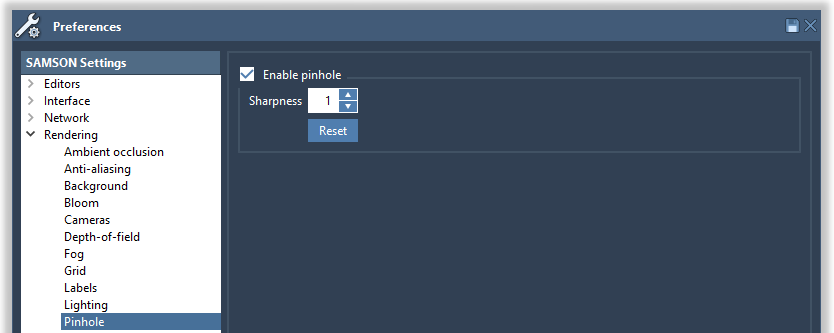
The Pinhole effect simulates looking through a pinhole, which may be useful when you want to focus attention on the center of the image (for example, a ligand followed by the camera using the new Follow atoms animation).
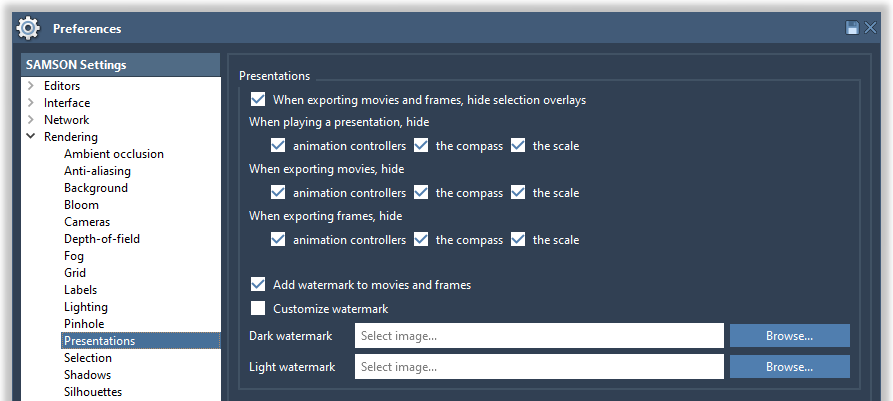
Presentations
The presentations settings may be changed in the Rendering > Presentations section of the Preferences panel:
Selection
The selection preferences may be changed in the Rendering > Selection section of the Preferences panel:
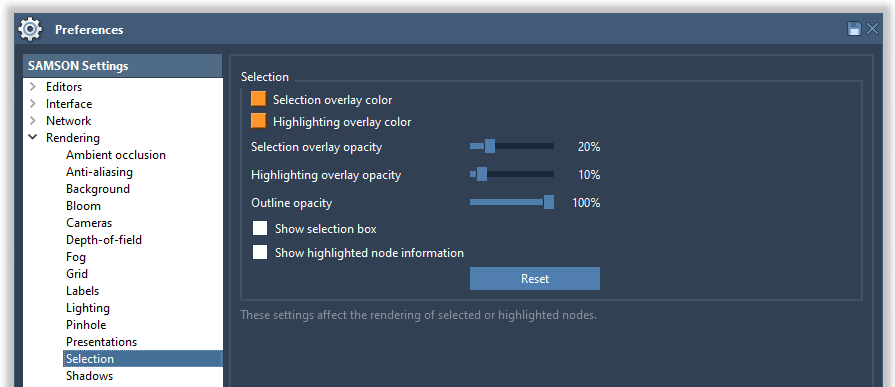
You can specify the color of selection, its opacity, and to show or not the selection box.
The highlighting color is the color which is used to highlight the node over which you hover in SAMSON. This helps you see what nodes will be selected.
The outline color is the color which used to colorize the outline of the highlighted or selected nodes. You may set the opacity of the outline to zero to increase the graphics performance and eliminate some lags on old graphics cards.
Shadows
The shadows settings may be changed in the Rendering > Shadows section of the Preferences panel:
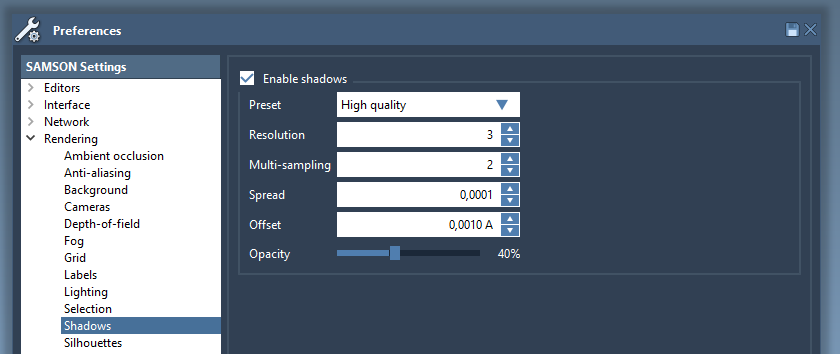
Shadows are particularly helpful to improve the perception of relative positions. Without shadows, it may be difficult to perceive the relative positions.
In case of an old graphics card you may want to either disable this option, or choose the lower preset.
Silhouettes
The silhouettes settings may be changed in the Rendering > Silhouettes section of the Preferences panel:
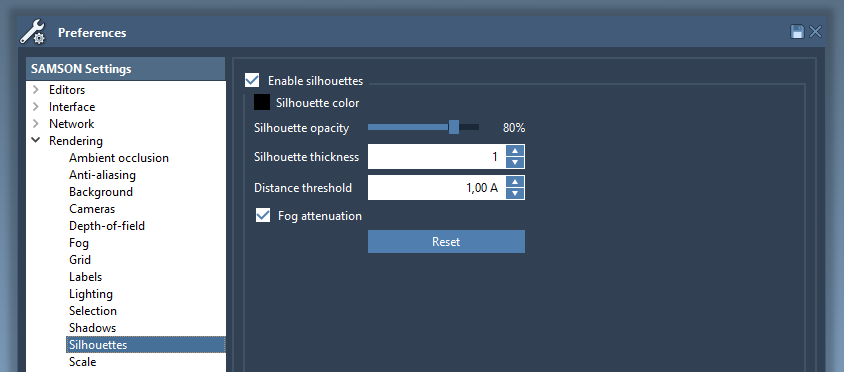
Silhouettes make it easier to separate regions with different depths. Turn on silhouettes to produce clearly delineated structures.
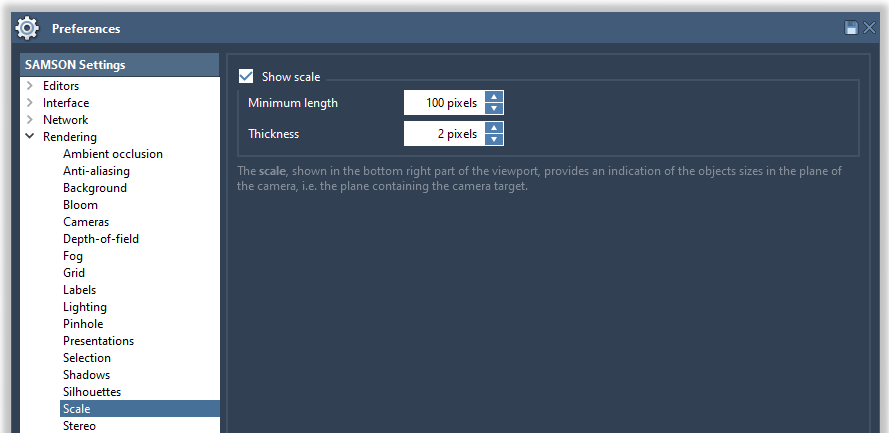
Scale
The scale settings may be changed in the Rendering > Scale section of the Preferences panel:
Stereo
The stereo view preferences may be changed in the Rendering > Stereo section of the Preferences panel:
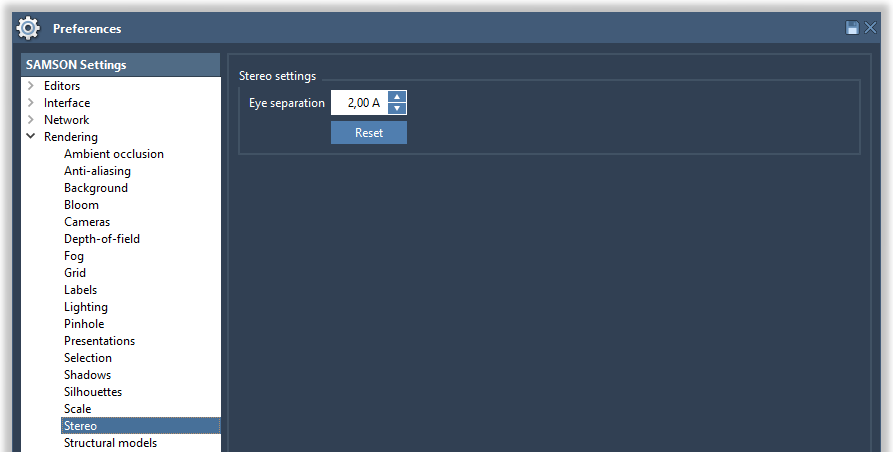
Stereo settings are applied to the stereo view (3D glasses).
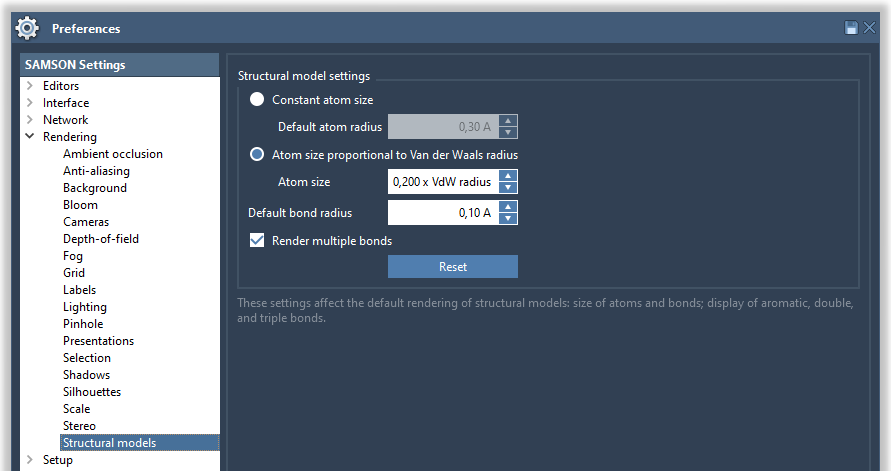
Structural model settings
The atom radius and bond radius may be changed in the Rendering > Structural models section of the Preferences panel:
Installation
General
The general installation info can be viewed in the Installation > General section of the Preferences panel:
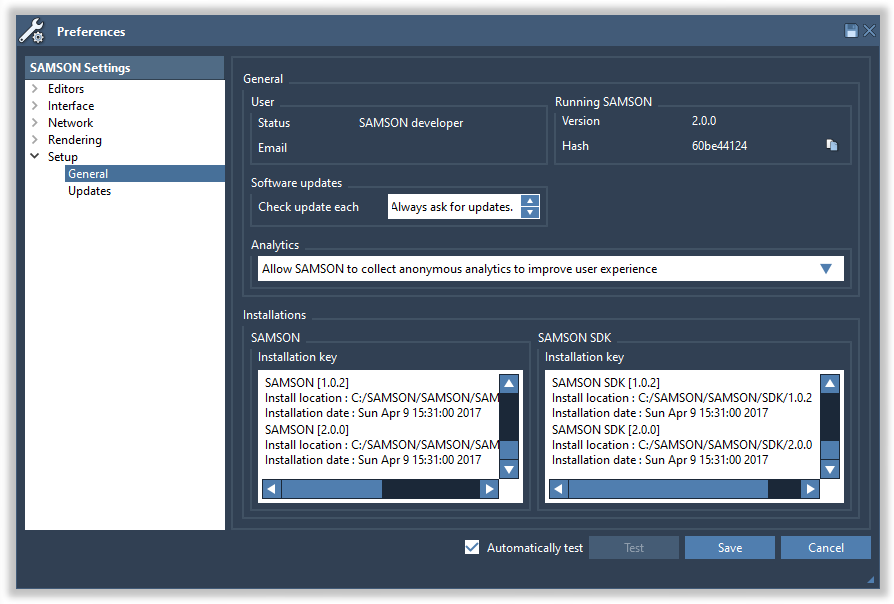
The general installation info shows the following:
- Your user type (User / Developer)
- E-mail address used for registration on SAMSON Connect
- Information on your graphics cards
- Frequency of update checks
- Information on the SAMSON Installation (the SAMSON key, the SAMSON version, the location, and the installation date)
- For a developer, information on the SAMSON SDK Installation (the SAMSON SDK key, the SAMSON SDK version, the location, and the installation date)
Updates
The updates installation info can be viewed in the Installation > Updates section of the Preferences panel:
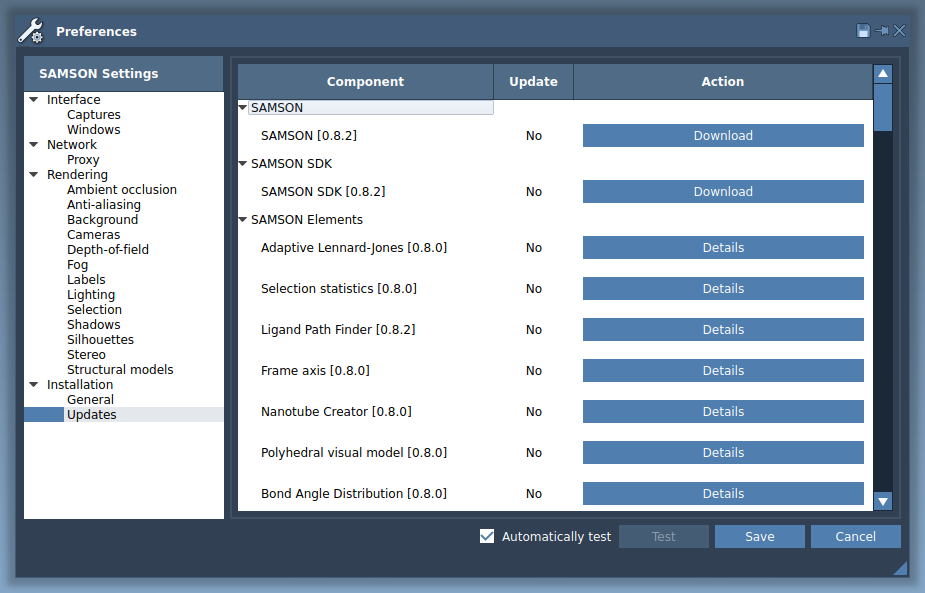
This page shows the availability of updates for SAMSON, SAMSON SDK and SAMSON Extensions, the current versions installed, and a possibility to check the detailed information on the installed SAMSON Extension by clicking the "Details" button which should open a web-page associated with this SAMSON Extension.
In case if you are a developer, this page also shows information on the SAMSON Extensions developed and installed by you locally. You can uninstall them by pressing the "Uninstall" button.
