In SAMSON, to do any operations (inspect, edit, move, simulate, etc) with nodes (atoms, residues, molecules) it is necessary to select them.
SAMSON provides several ways for doing simple and complex selections: selection filters, selection editors, selecting using the Document View, selecting using the Node Specification Language, and domain-specific selection commands in the Biology menu. Also, you can use the Python Scripting SAMSON Extension to do even more complex and scripted selections (see Python Scripting Guide).
Selection filters
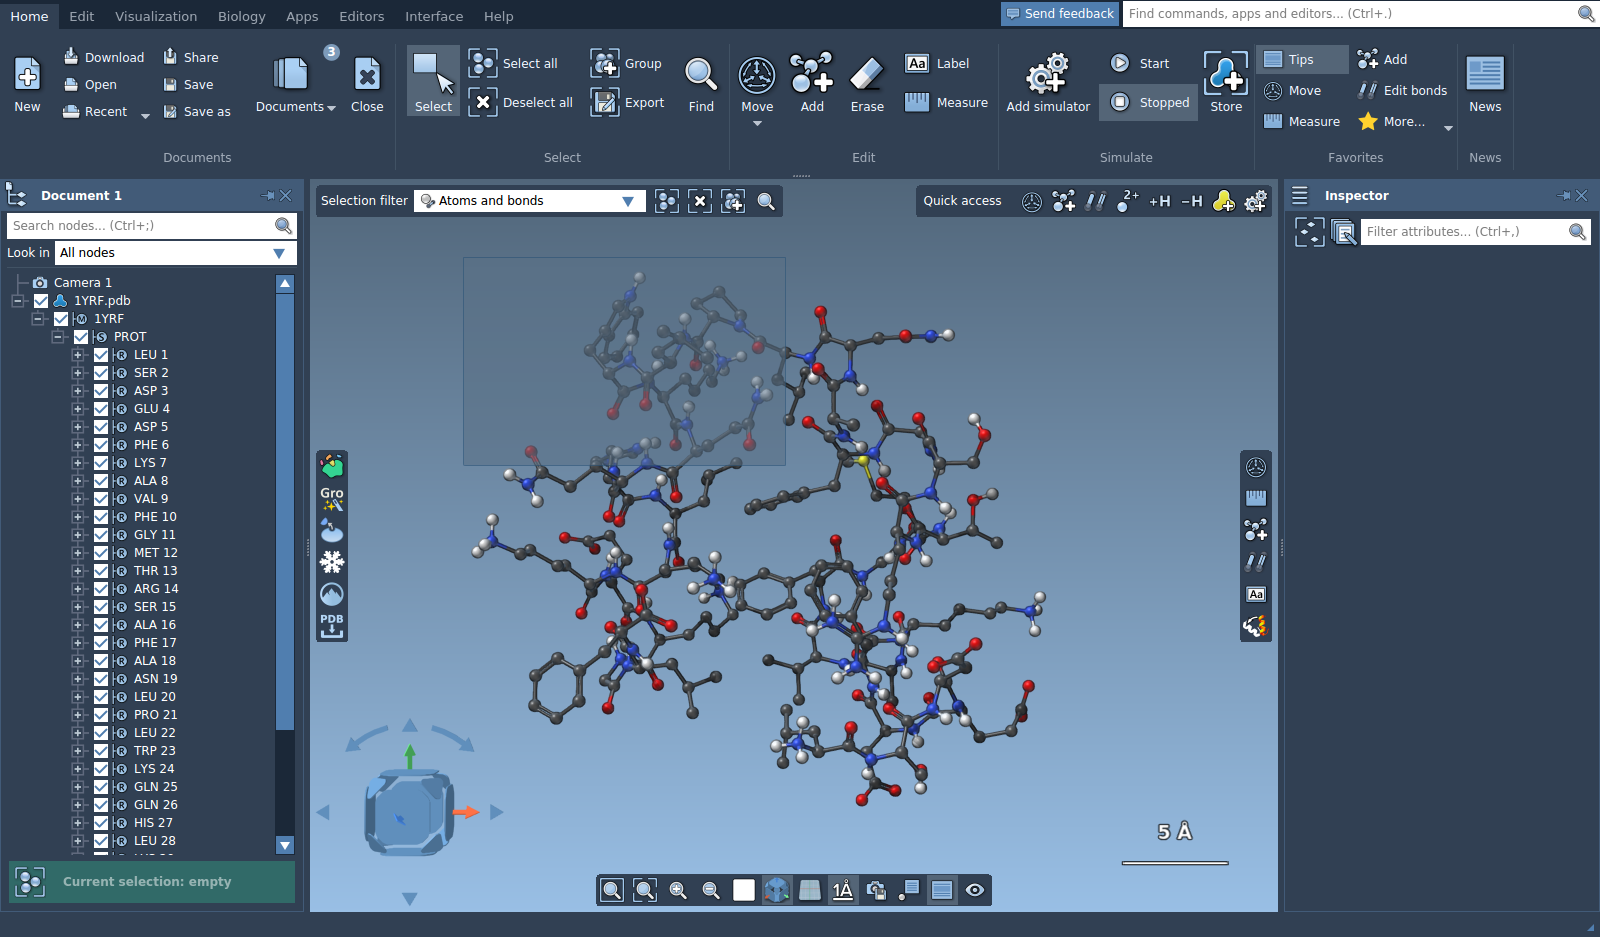
First, we need to specify the desired level of the selection. This is done in the top-left corner of the viewport.
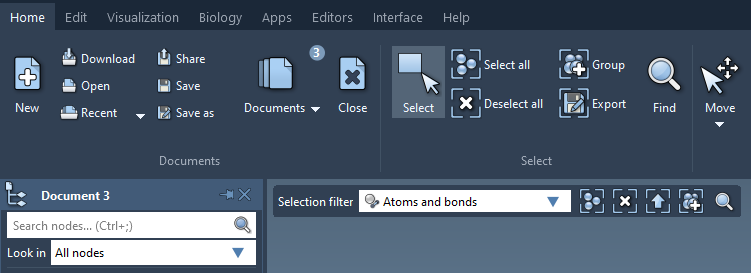
It provides a one-click access to the selection functionality and a possibility to set a selection filter. The selection filter allows you to specify types of nodes to which the selection should be applied. You can add your own selection filters (see Selecting using the Node Specification Language).
In this menu you will as well find the following icons:


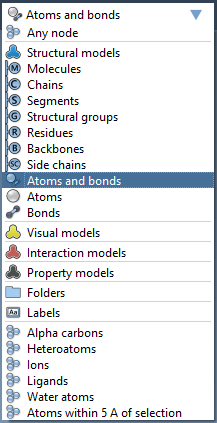
Let's open a molecule, e.g. 1YRF from the Sample folder. Now, choose "Residues" in the selection filter and click on the "Select all" icon next to the selection filter. You will see that all the residues present in the Document were selected.
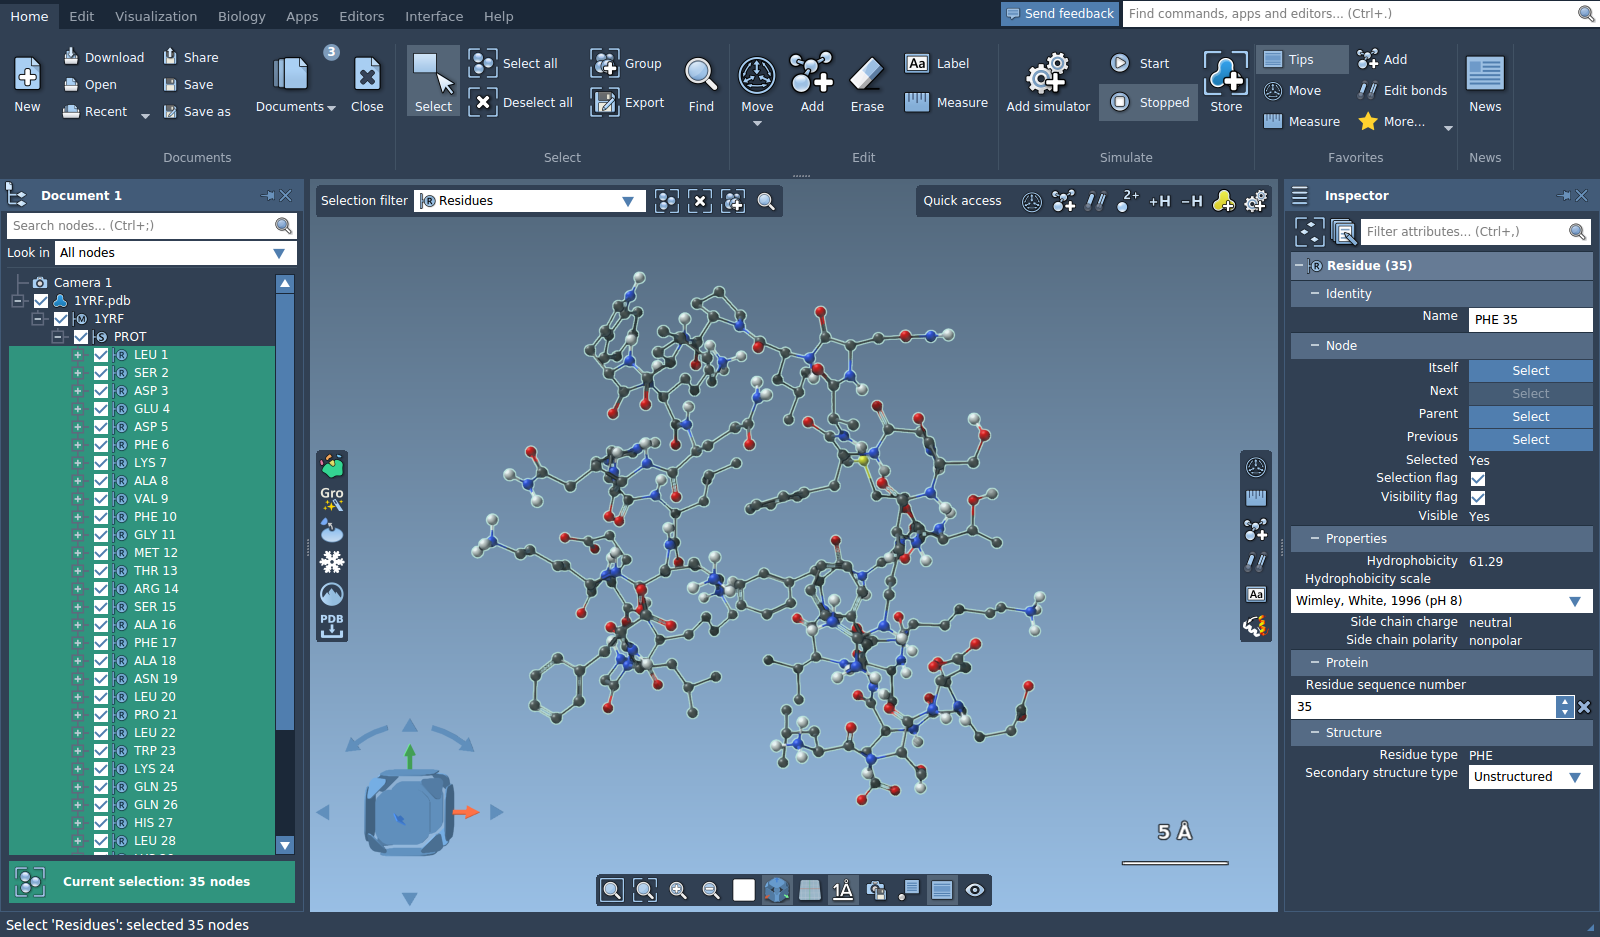
At the bottom of the document view you will see a selection summary with the number of selected nodes. If you do not see the document view, you can enable it via Interface menu or the Ctrl + 1 shortcut on Windows or Linux or Cmd⌘ + 1 on Mac. You can click on the selection summary to see possible contextual actions.
Note: If you have enabled the inspector (Interface menu or the Ctrl + 2 shortcut on Windows or Linux or Cmd⌘ + 2 on Mac), you may notice that a detailed info on the selected nodes is shown in the inspector. The inspector is a powerful tool which allows you to view and edit properties of a single node or a group of nodes. Please, see Inspecting for a learn more about how to work with the inspector.
Choose "Atoms" as a selection filter and click on the "Select all" icon. You will see that all the atoms were selected.
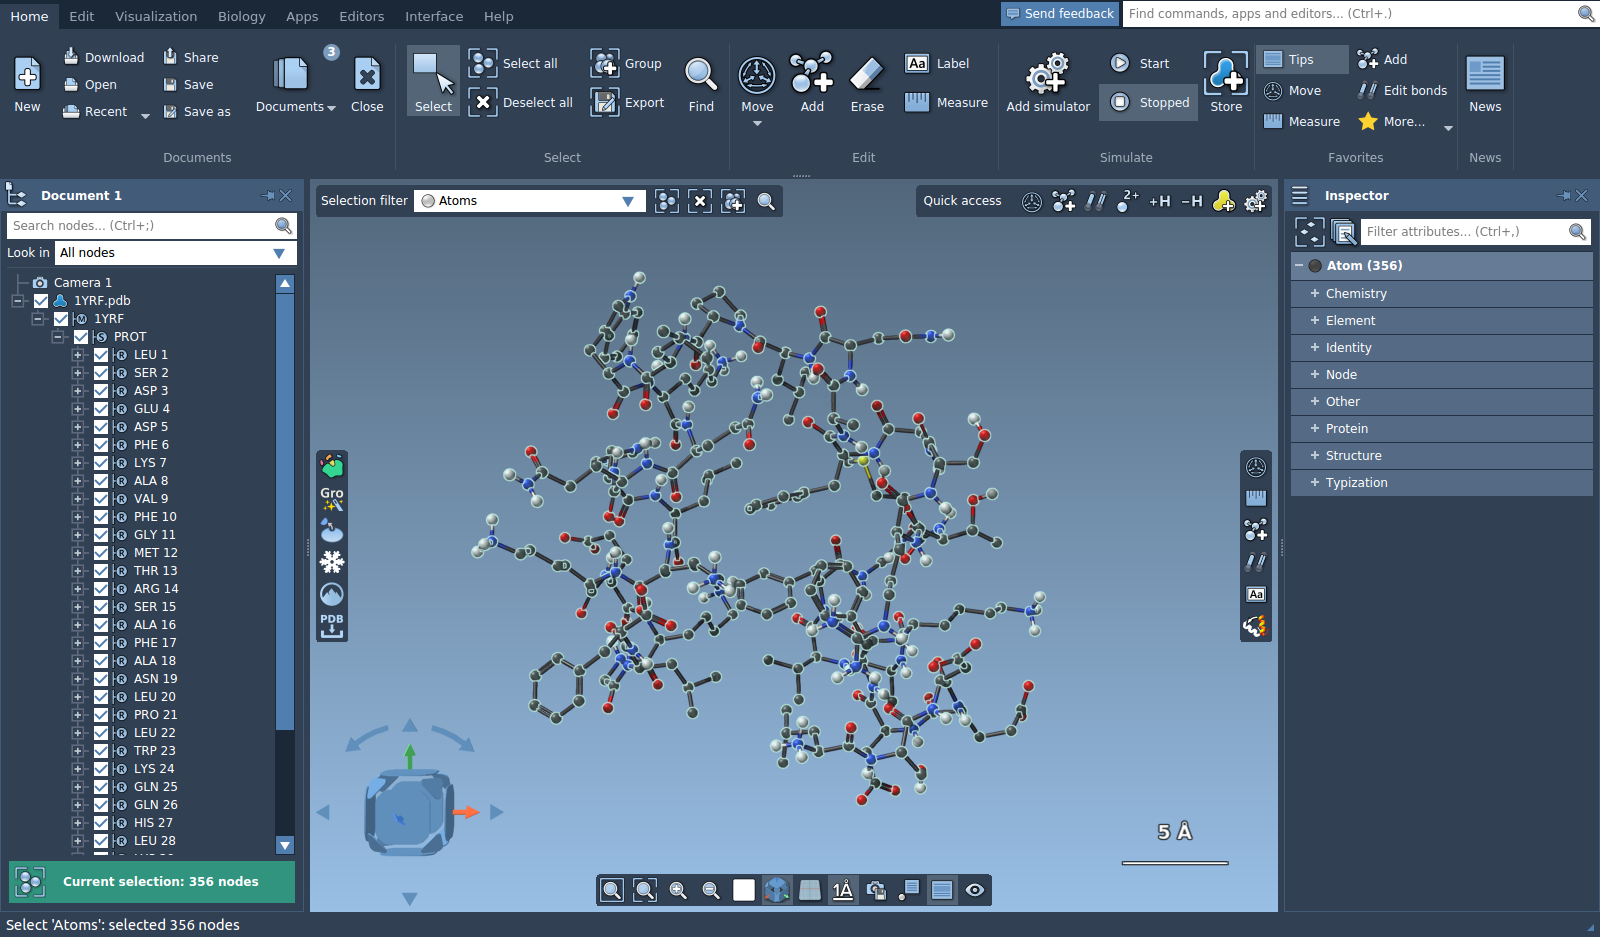
Now, click on the "Deselect All" icon and everything will be deselected.
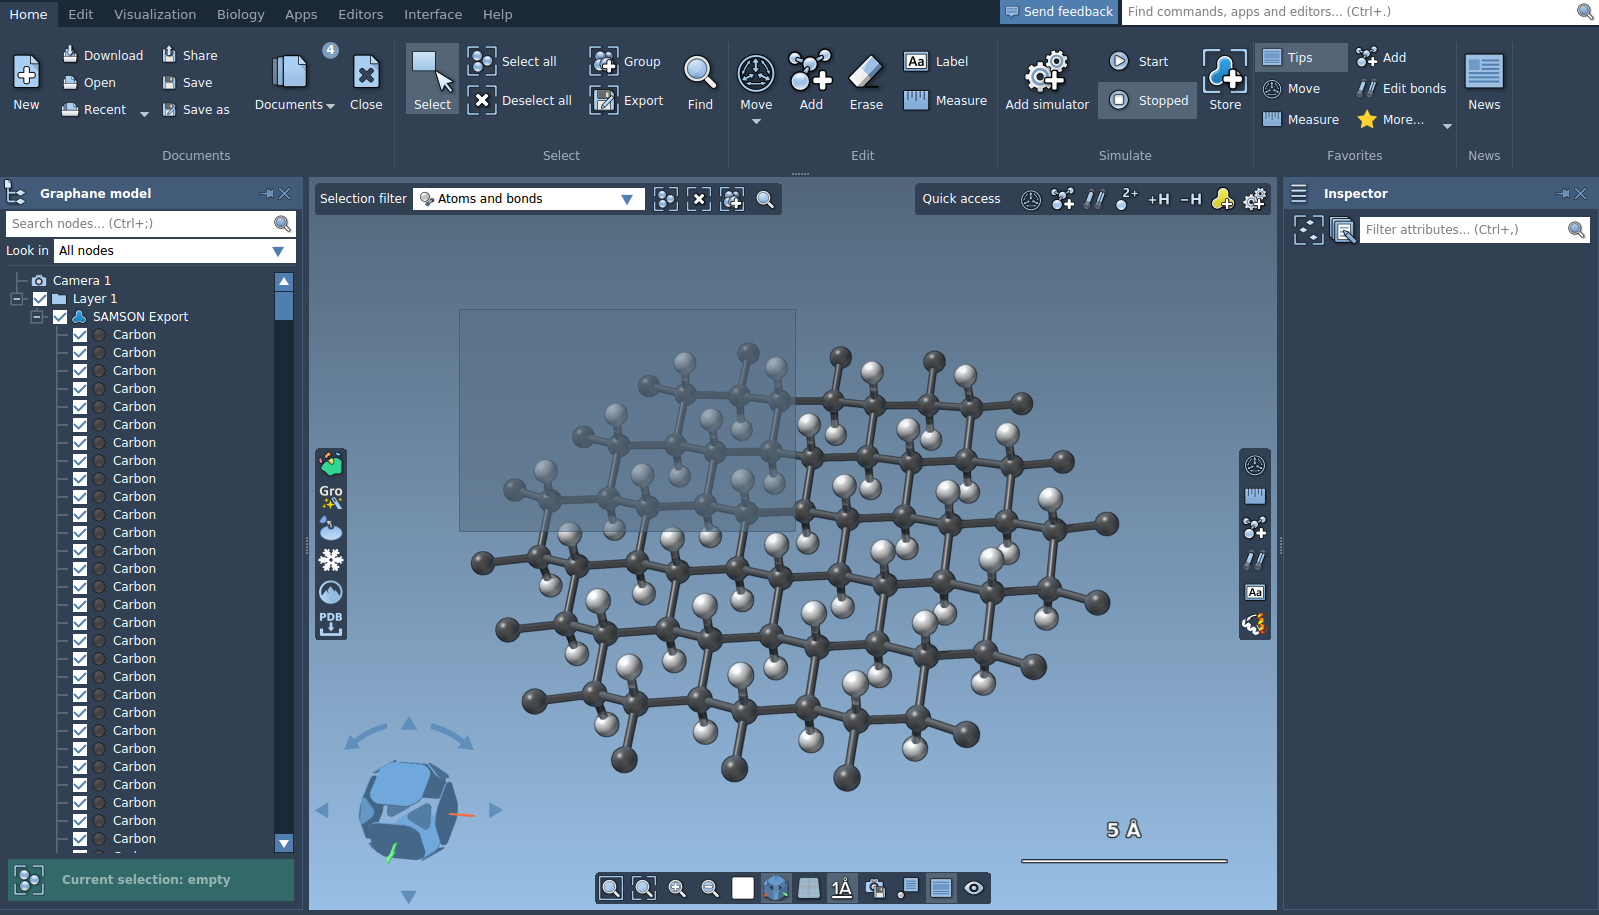
Choose "Atoms and bonds" as a selection filter for the rest of the tutorial.
Selecting using Editors
To use selection Editors you can either choose one from the Edit group of the Home menu or go to the Edit menu.

One selection editor is present by default in SAMSON:

It also acts as a point selection editor, when clicking on nodes.
This selection editor is placed in the Select group of the Home menu.
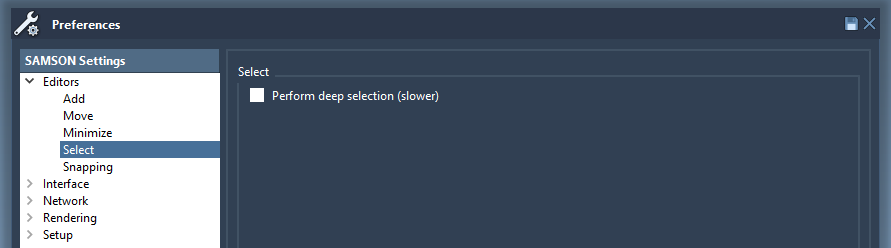
The rectangle selection can either select or not select nodes hidden behind other nodes. To modify this settings, go to Preferences > Editor > Select and check or uncheck the check box "Perform deep selection". Note, that the deep selection is significantly slower.
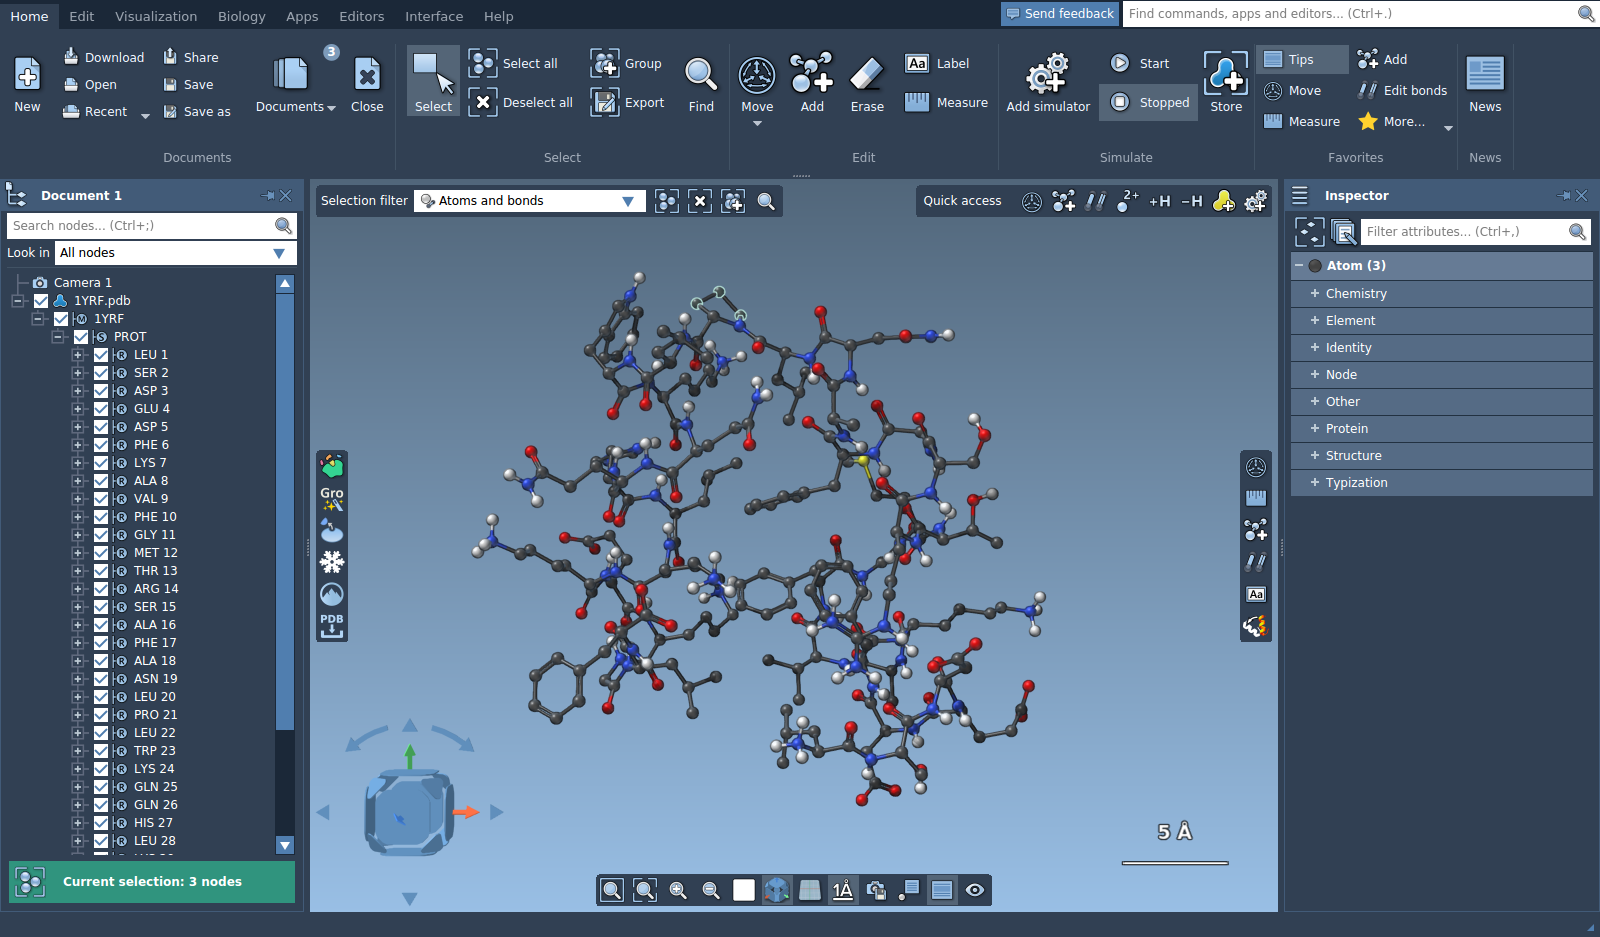
Let's open a molecule, e.g. 1YRF from the Sample folder. Choose the selection editor. Make sure that the selection filter is set to "Atoms and bonds". If you left click on any atom in the viewport, this atom will be selected. To select more than one node using the point selection editor hold Ctrl/ Cmd⌘.
Tip: If you press Shift + Space the camera will centered on the selected part (so that the selection will be in focus).
This selection editor can also be used as a rectangle selection. Left click and hold in the viewport and start moving your mouse, you will see the rectangle, once you release the left button the nodes behind the drawn rectangle will be selected. To select more than once, hold Ctrl.
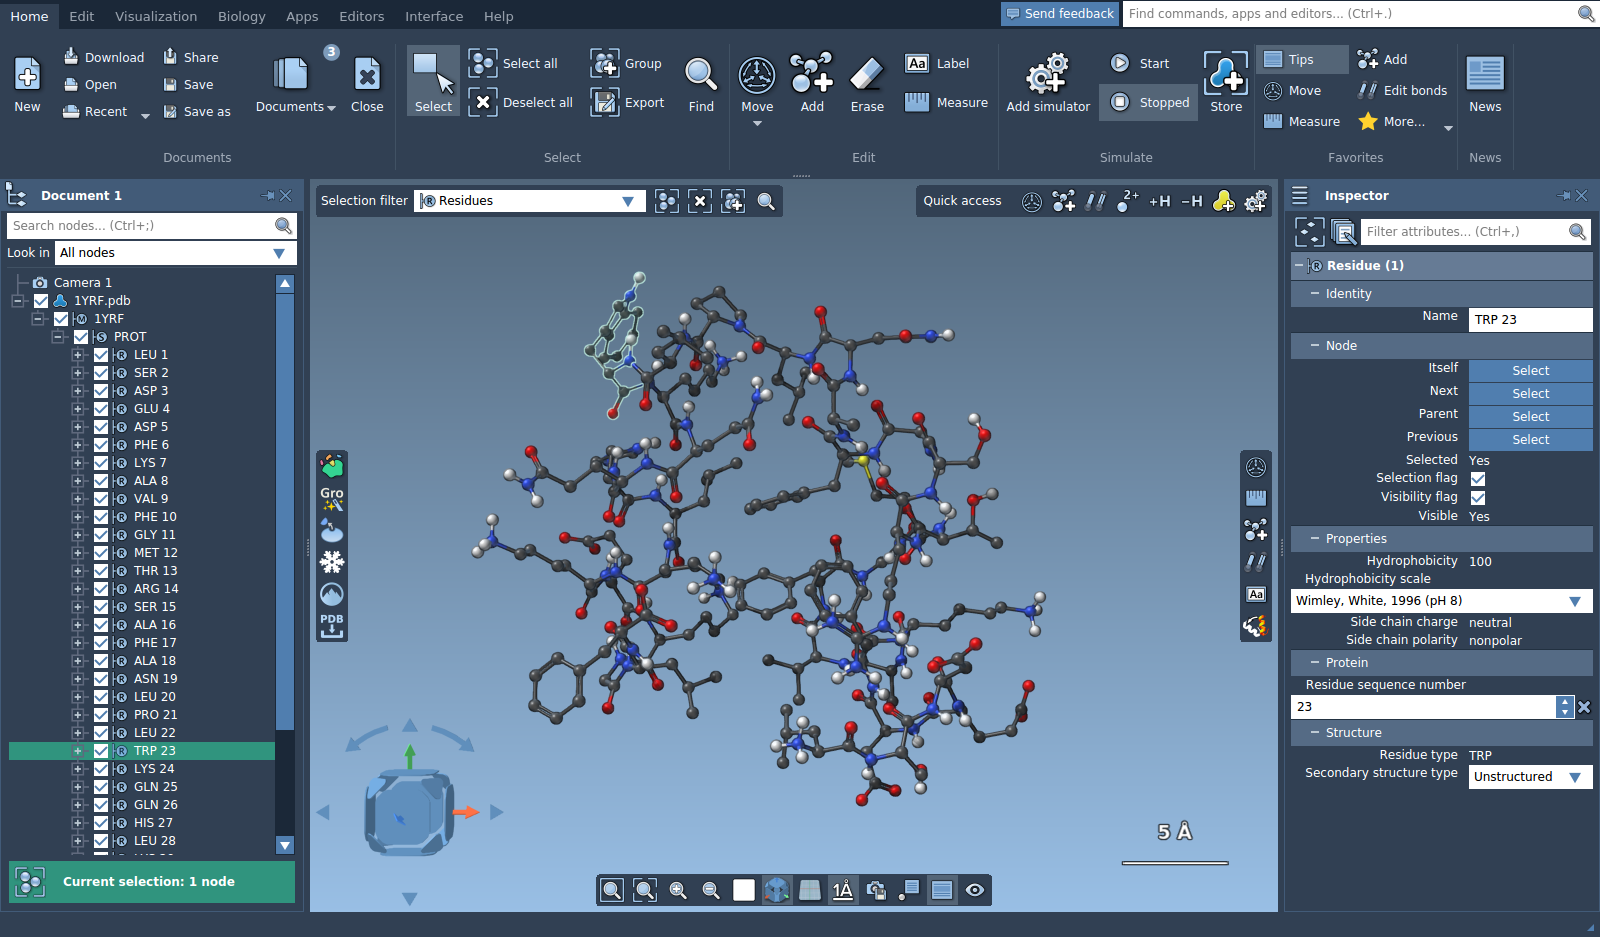
You can use selection editors with different selection filters. Set the selection filter to "Residues" and choose the selection editor. Now, when you will try to select in the viewport an atom that belongs to a residue, this residue will be selected instead.
Selecting using the Document View
You can select nodes through the document view.
Let's open a molecule, e.g. 1YRF from the Sample folder. Unfold several levels and click on a residue, it will be selected.
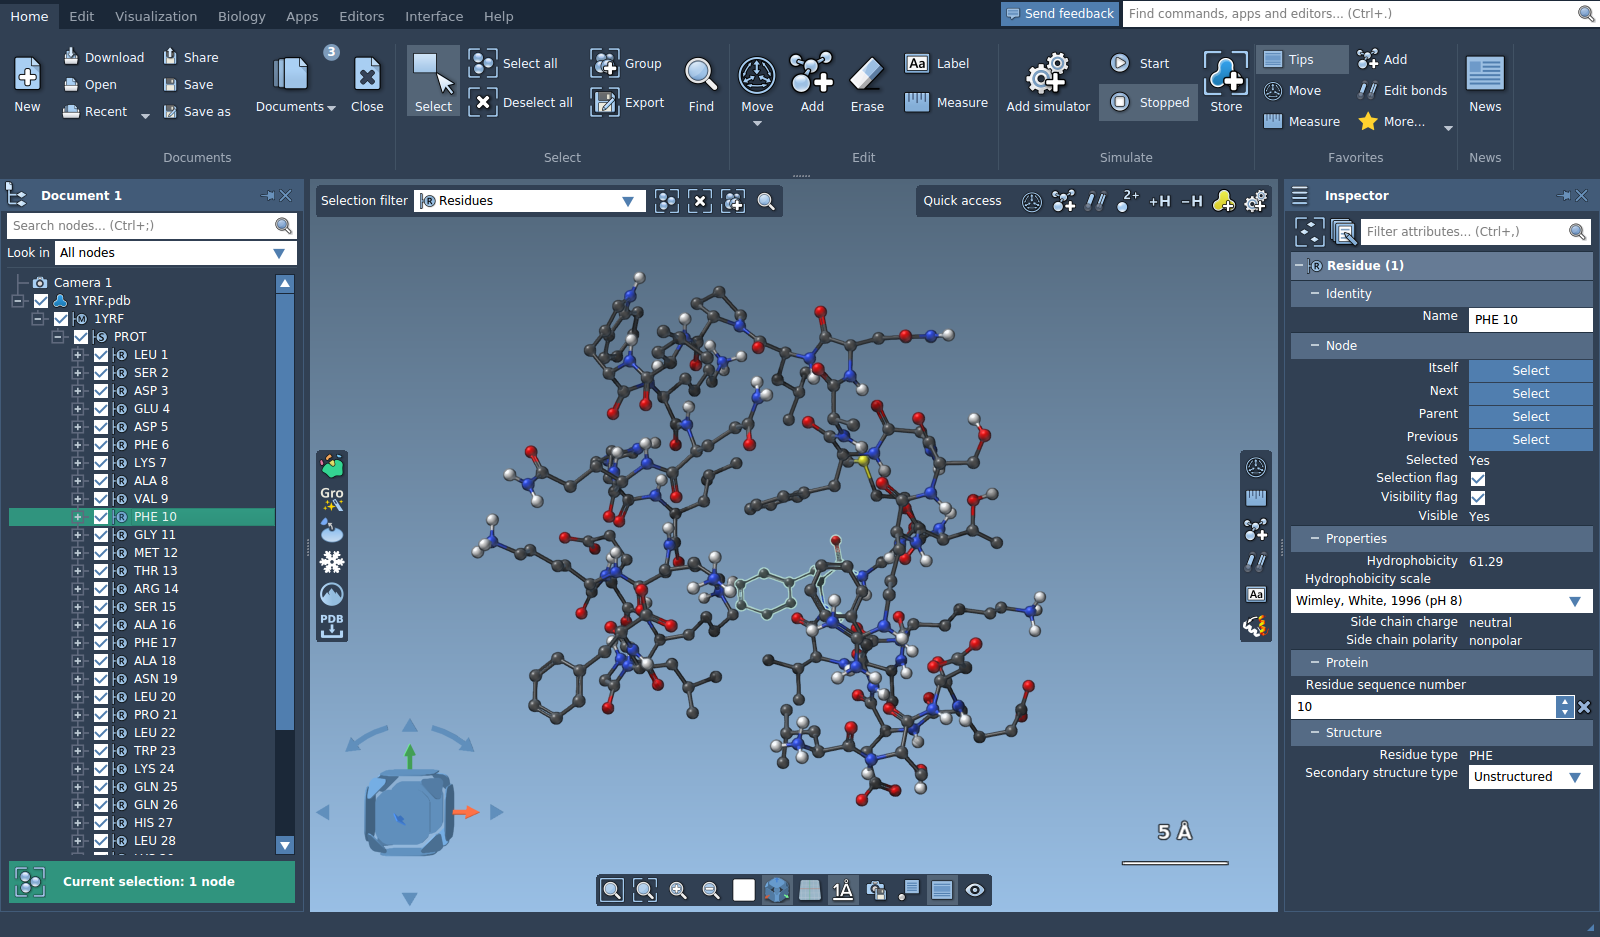
The bottom part of the document view shows a selection summary. Click on it to see possible contextual actions.
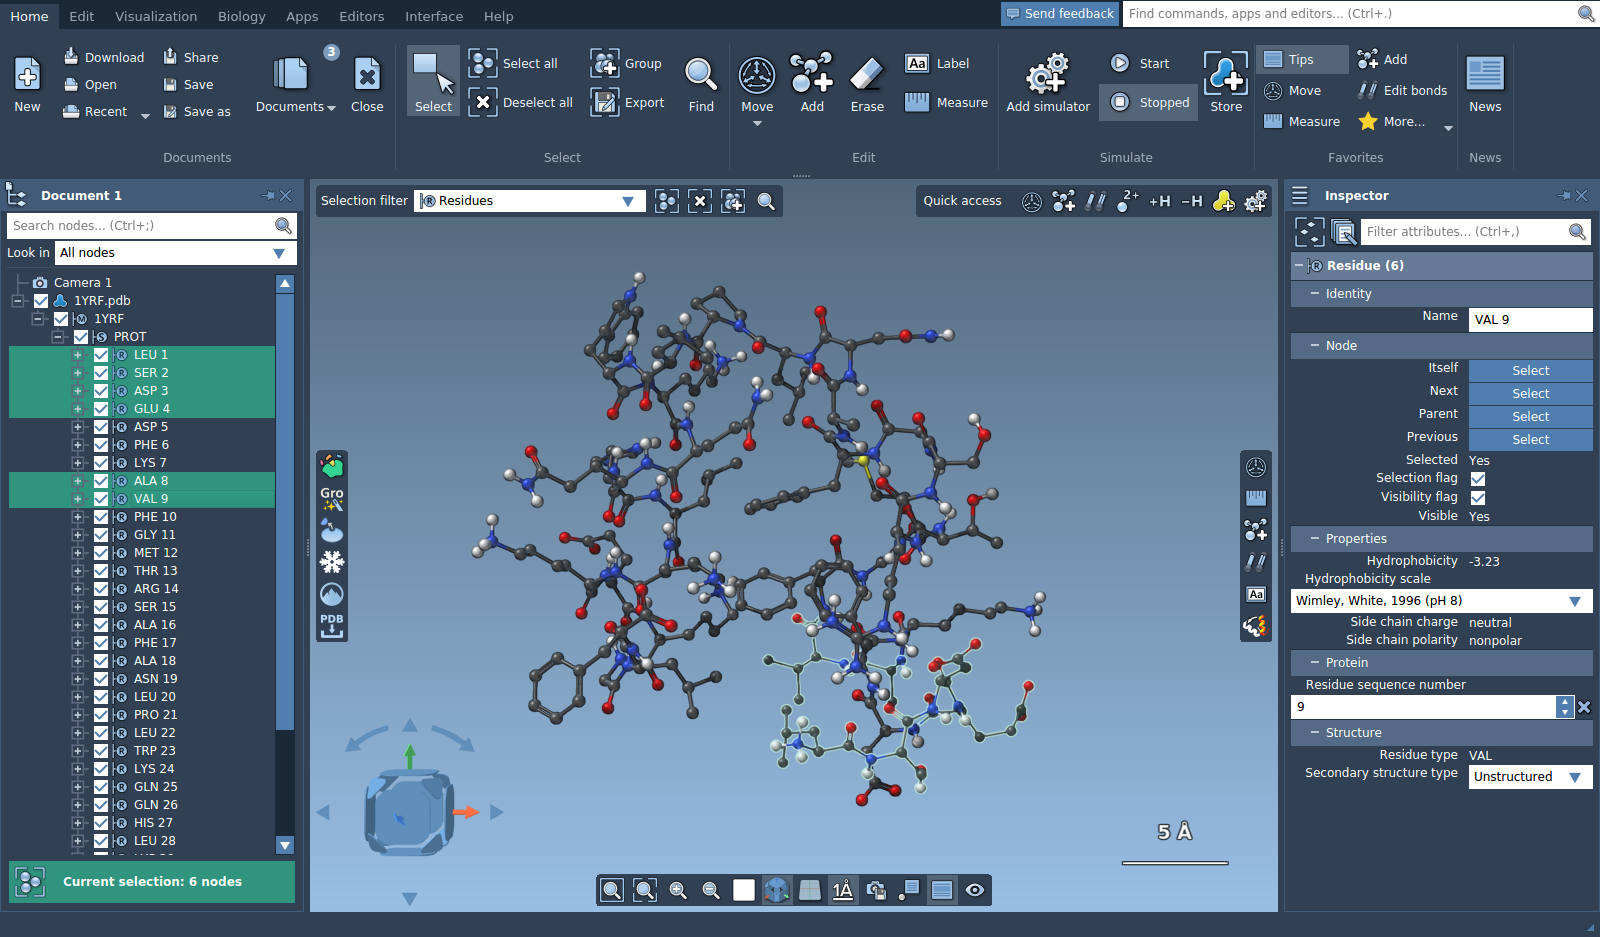
You can use Ctrl/ Cmd⌘ + Shift to perform complex selections.
You can filter nodes in the document view by entering a string or a Node Specification Language expression. Press Enter to select the nodes matching the filter.
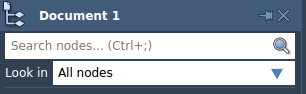
Let's filter lysine (LYS) residues by name, type LYS in the filter and press Enter to select the filtered nodes.
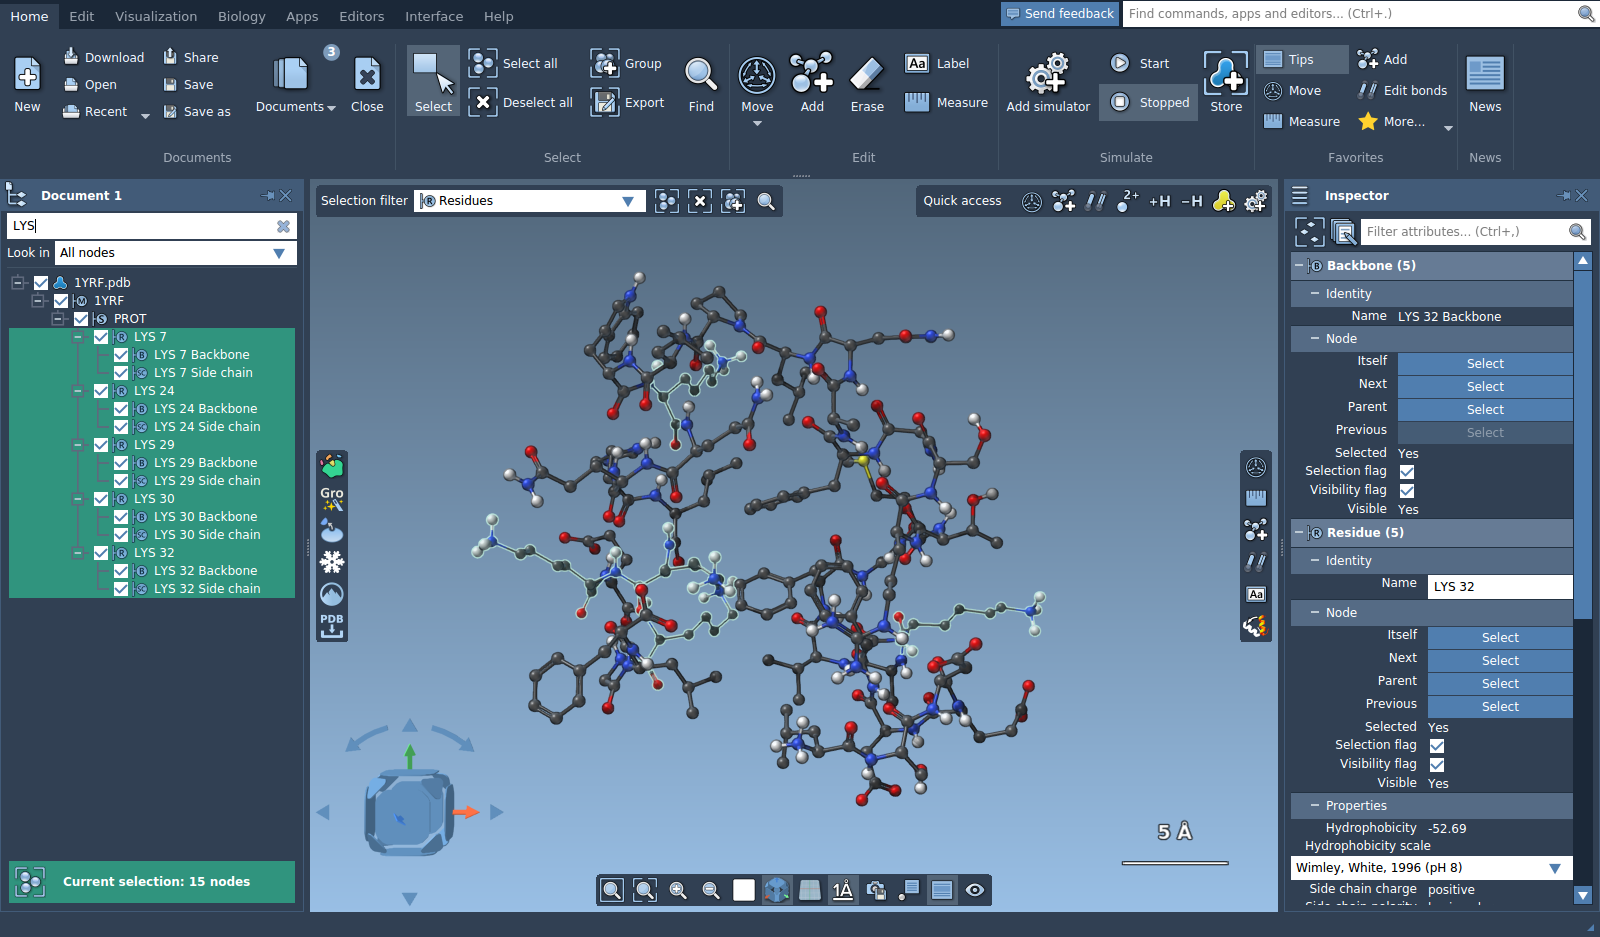
You might notice in the document view, in the selection summary, or in the inspector that 15 nodes were actually selected in total, while there are only 5 LYS residues, this is because backbones and side chains of LYS residues were as well selected, since their names contain "LYS". Filtering by string is based on names of the nodes. For a more precise filtering you can use the Node Specification Language. To choose only LYS residues, type the following Node Specification Language expression: residue.type LYS (or a short version r.t LYS). Press Enter to select the nodes matching the filter.
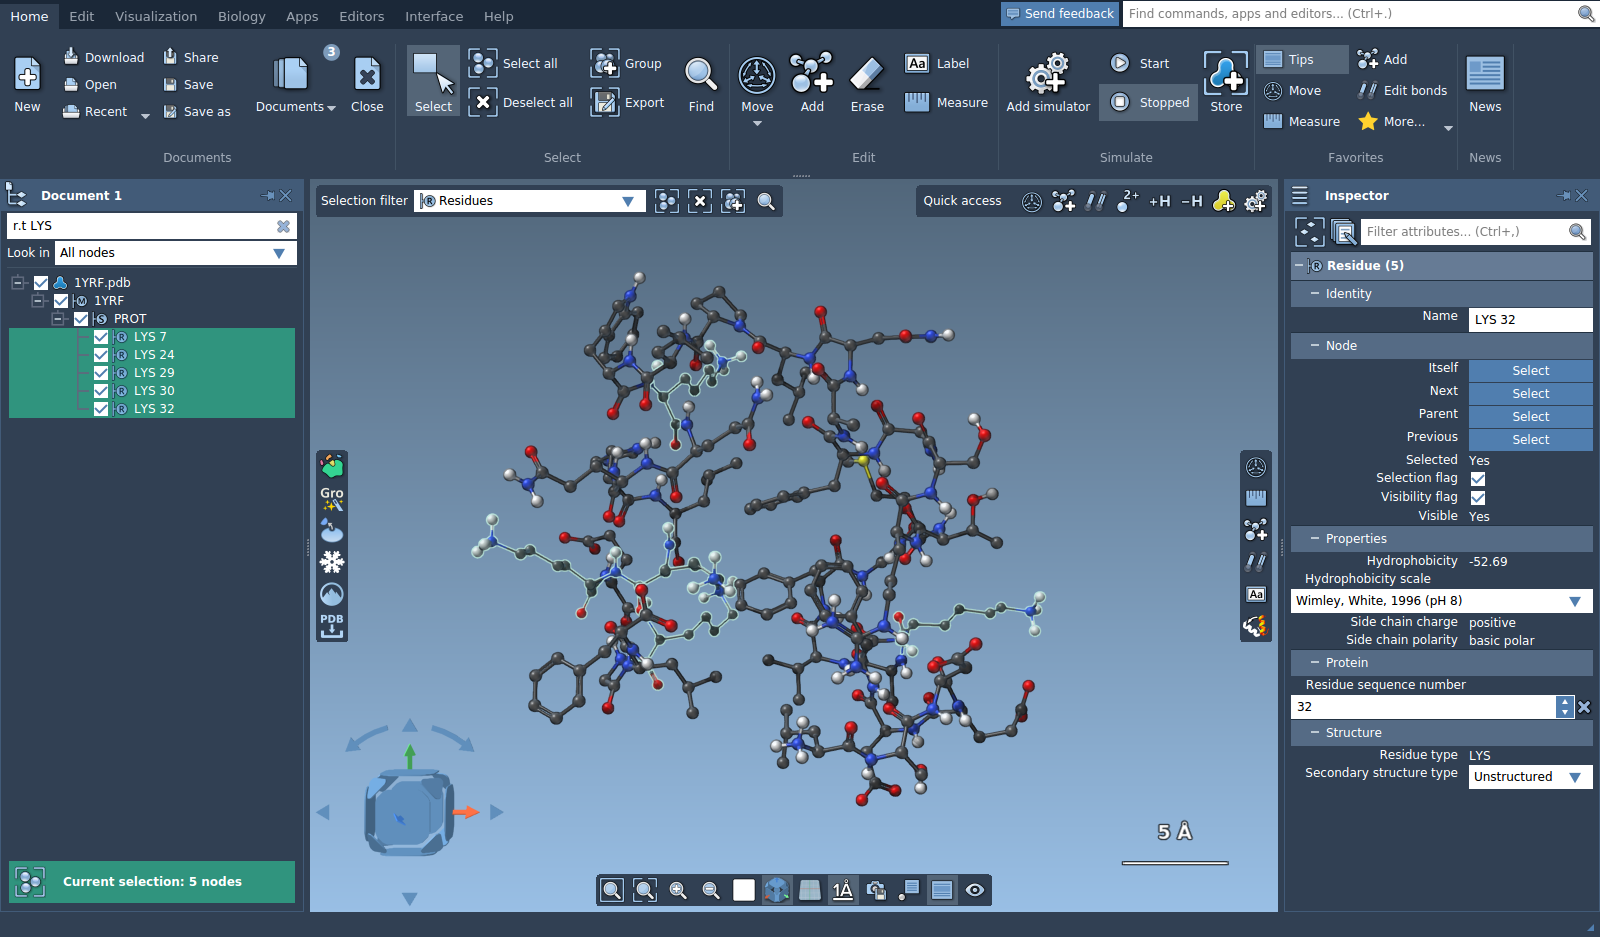
As you can see, only the LYS residues were selected now.
See Selecting using the Node Specification Language section to learn more about how to select nodes using Node Specification Language expressions.
Selecting using the Node Specification Language
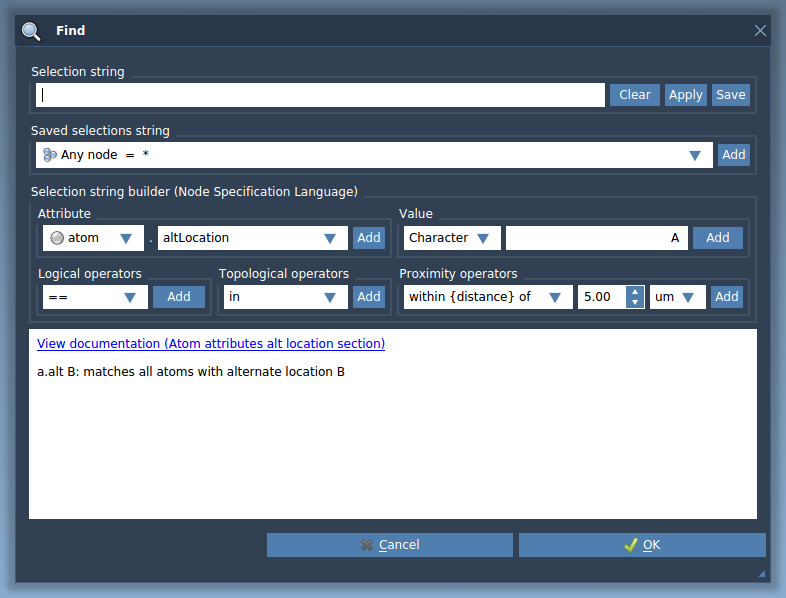
You can use the Node Specification Language for selecting nodes in the document view filter as it was shown in the Selecting using the Document View section, or by using the Find window. The Find window can be opened via the Ctrl + F shortcut on Windows and Linux or Cmd⌘ + F on Mac or by clicking on an icon "Find" in the Selection menu.

This will open the Find window.
See the Node Specification Language section for learn more about it.
Saving selection filters
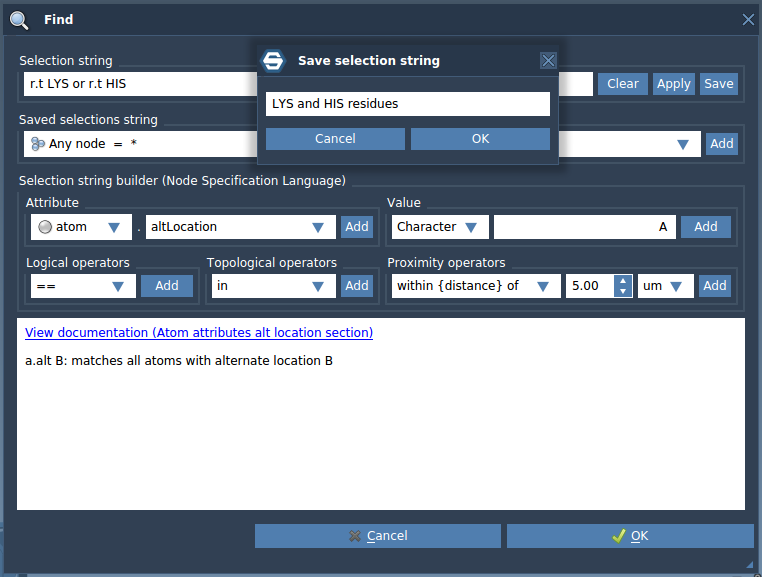
A Node Specification Language expression can be saved as a selection filter for later use. Open the Find window, type a selection string, and enter the name for the selection filter based on this string to be saved as.
Let's save the selection filter which gives us LYS or HIS residues: r.t LYS or r.t HIS. Click on the Save button and name it "LYS and HIS residues" then press Ok or Enter.
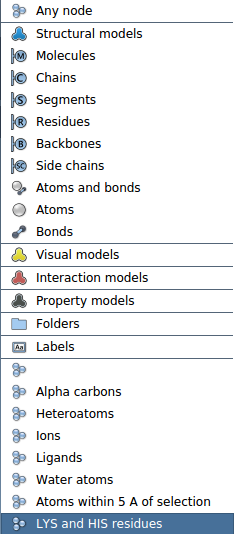
The newly added selection filter should appear in the selection filter list.
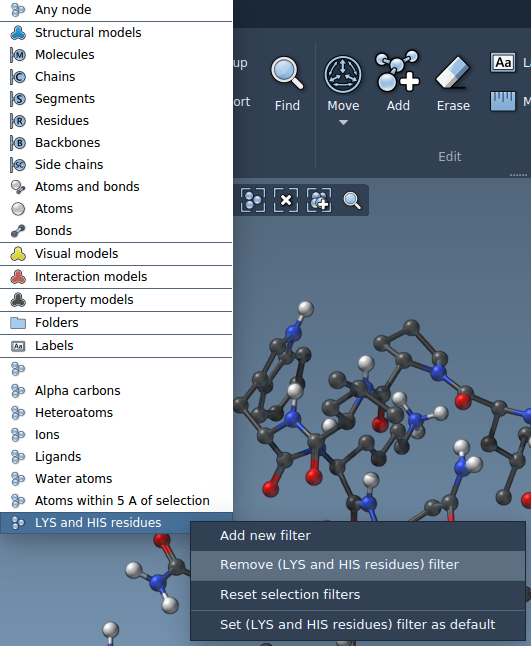
You can remove any filter or reset all the custom filter. To remove a custom filter, this filter first should be selected as an active one. Important: "Reset selection filters" will remove all the selection filters added by you.
Saving the selection as a group
Selections can be saved as groups. This is useful, for example, to have a fast access to some nodes.
Important: A group does not contain the nodes it refers to, but only links to them. If you select a group but some of the nodes were deleted, only the existing ones will be selected.
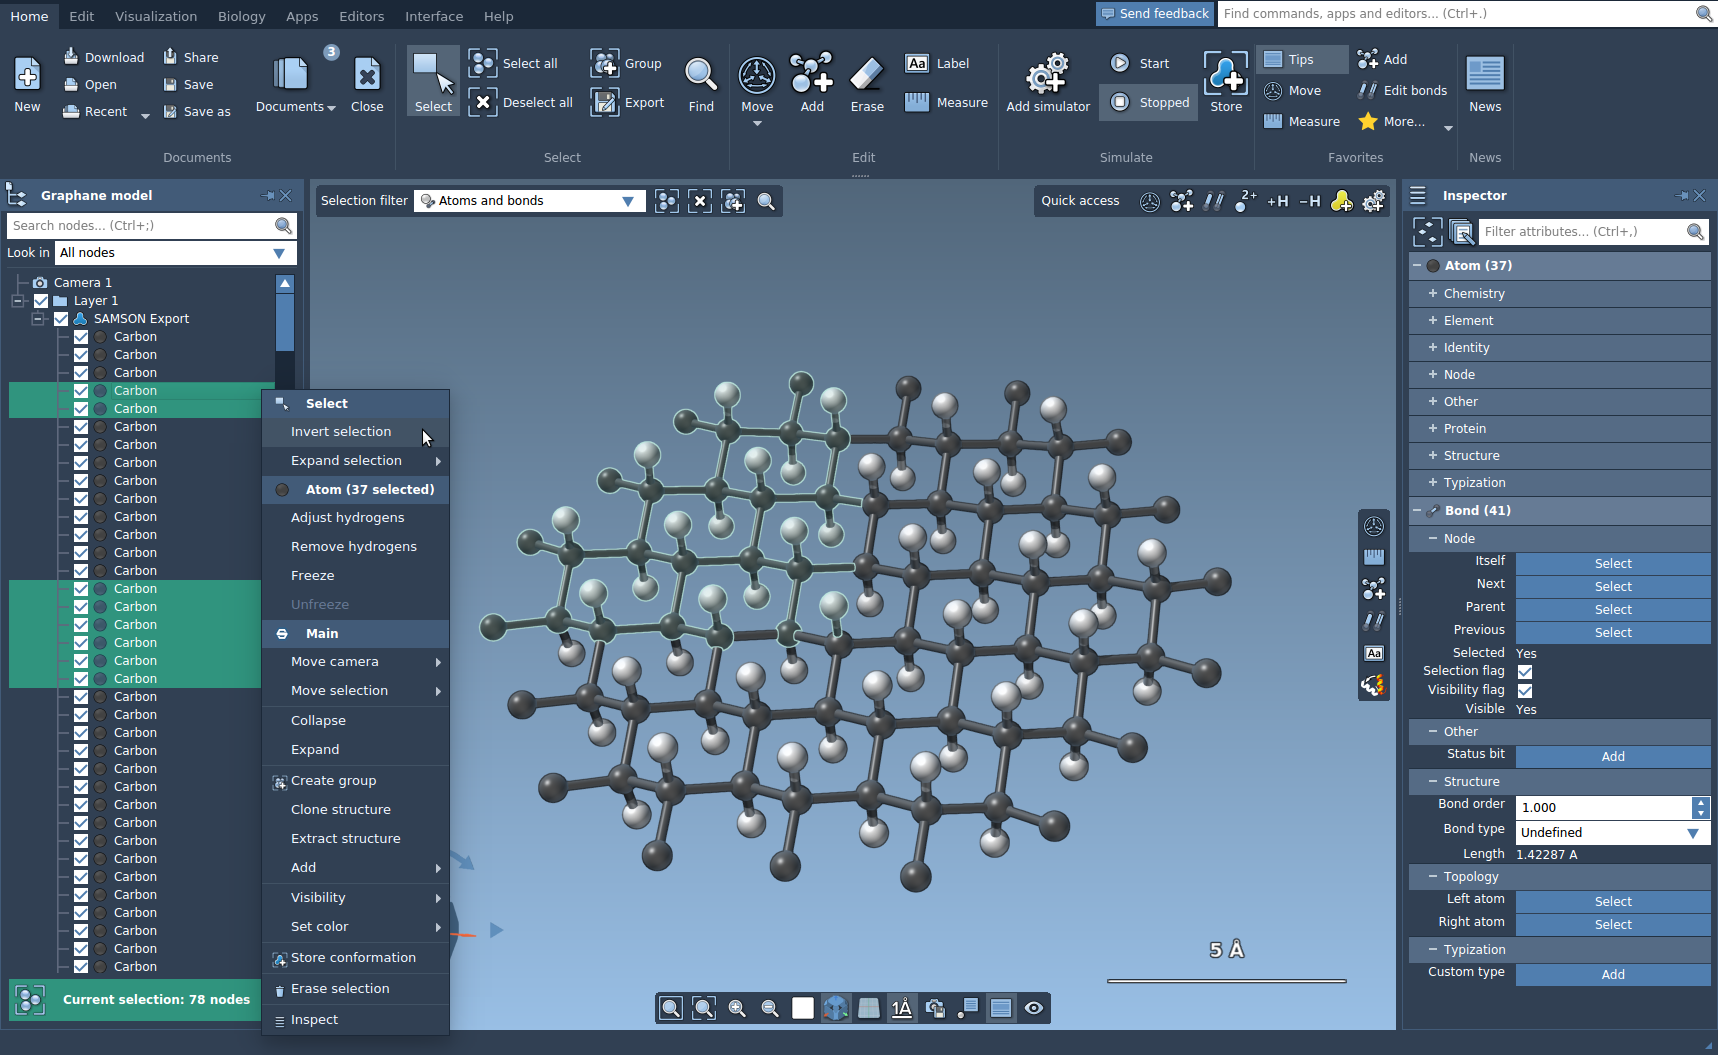
Open a molecule and select some atoms. Right click on the selection and choose "Create group" from the context menu, or click on the "Group" in the Home menu, Select section or in the menu in the top-left corner of the viewport.


Once you click on "Create group", a dialog window will pop-up where you can name the group.
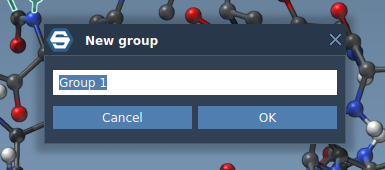
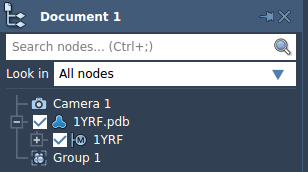
The newly created group will appear in the document view.
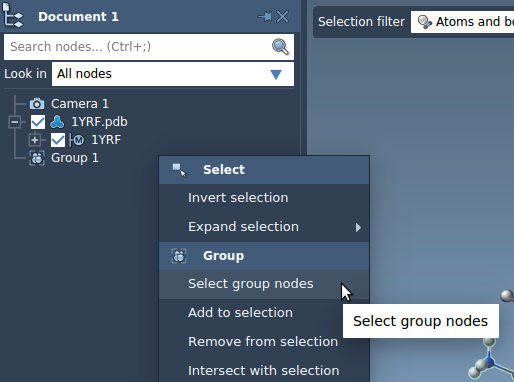
You can perform different actions with a group:
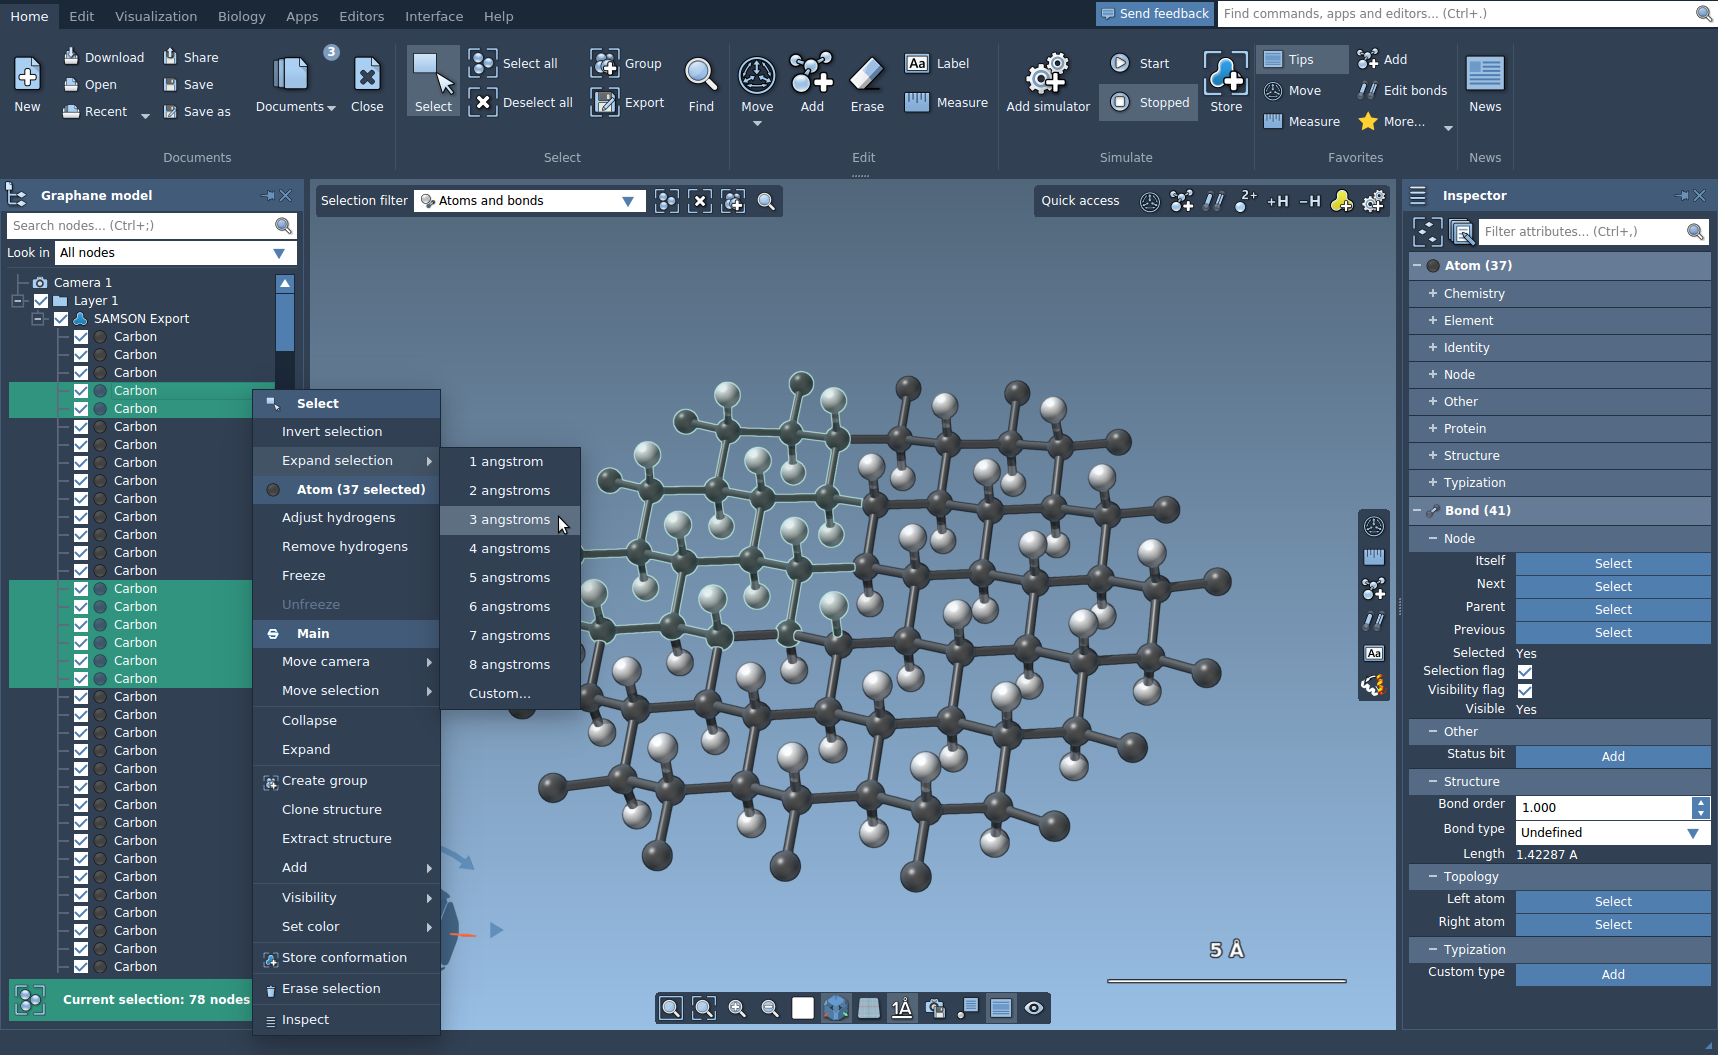
Inverting and expanding selections
To invert the selection, right-click on the selection either in the document view or in the viewport and click in the context menu Invert selection.
To expand the selection, right-click on the selection either in the document view or in the viewport and in the Expand selection context menu select for how much you want to expand the selection, you can click custom to set the specific distance.