Generating a SAMSON Extension#
The SAMSON SDK Extension Generator is the standard way to start a new extension project.
Use it when you want a project that already matches SAMSON's expected layout, naming rules, and build configuration. The generated code compiles immediately and contains comments that point you to the places you will usually customize first.
Before you start:
- install the SDK as described in Installation
- add the SAMSON SDK Extension Generator
- restart SAMSON if needed so the generator is downloaded and loaded
Running the Extension Generator#
In the SAMSON menu, go to Home > Apps > Developer > Generate a new extension.
The generator walks you through a small wizard. The important thing is not just what to click, but what each choice means for the project you are about to create.
Once you open the app, click Generate a new SAMSON Extension.
Step 1: Choose the development folder#
The first page asks for the folder where you keep your extension sources. For your first extension, choose or create an empty development folder. It does not need to be inside the SDK installation.
This folder becomes your working area for extension projects. You can reuse it for later extensions, and the generator remembers it for future runs.

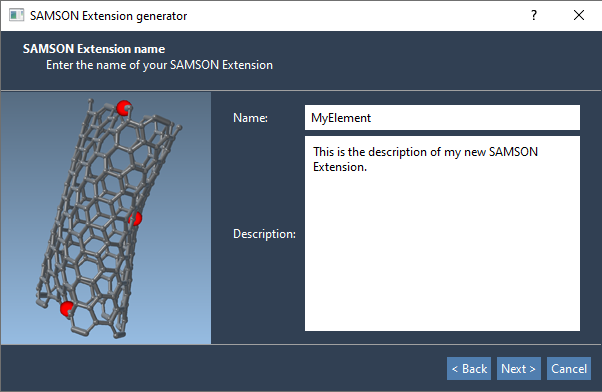
Step 2: Name the extension#
The second page asks for the extension name and description.
The name matters because it is reused throughout the generated code. If your extension is named MyElement, generated classes and files will use the SEMyElement... prefix. Choose a short, stable name you will be comfortable keeping in class names and file names.
Both a name and a description are required before you can continue.
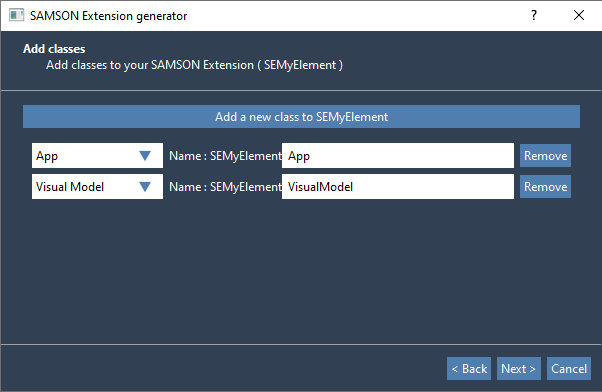
Step 3: Choose the classes to generate#
The third page is where you decide what kind of extension you are building. You can add one or several classes, and each one generates its own source, header, and support files.
The available roles are:
- App: general commands, tools, workflows, and connectors
- Editor: interactive viewport tools
- Exporter: data graph to file
- Importer: file to data graph
- Interaction model: energies and forces
- State updater: state changes such as position updates
- Visual model: viewport representation
- Node: custom data graph objects
Give each class a distinct name. Those names also become part of the generated type and file names. For example, a class named VisualModel inside an extension named MyElement produces names such as SEMyElementVisualModel.
If you are unsure what to generate, start small:
- choose only an app if you are building a command or utility
- choose an app and an editor if you need both a window and interactive viewport behavior
- add a node or model only when you already know you need custom persistent state or scientific behavior
You can add more classes later, so avoid over-scaffolding the first iteration.
Step 4: Generate the project#
The final page shows the target folder contents and provides the Generate button.
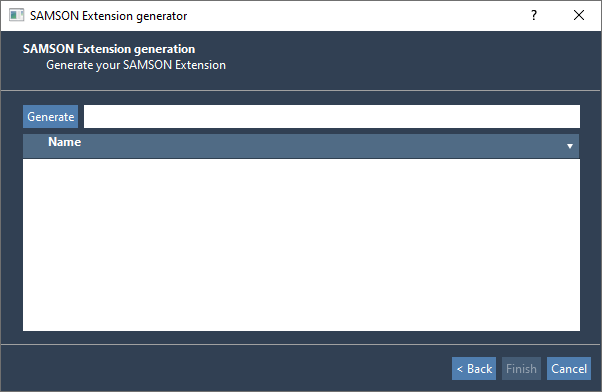
Press Generate. The generator creates a compilable extension project with the selected classes, resources, and CMake files.
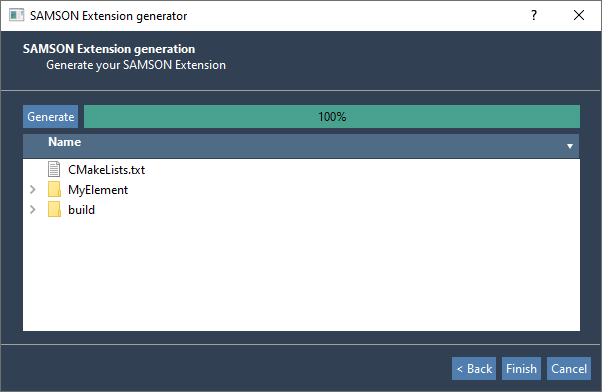
Directory structure#
The generator creates a predictable project layout. In your development folder, you should see:
- a
builddirectory for generated build artifacts - one directory per generated extension, such as
MyElement - a top-level
CMakeLists.txtthat includes all extension projects in that workspace
When you generate more extensions into the same development folder, the top-level CMakeLists.txt is updated so they can be built together.
Inside a generated extension folder, you will typically find:
data: files distributed with the extension, such as parameters or templatesdoc: extension-specific documentationform: Qt Designer.uifilesinclude: C++ headersresource: icons, translations, and other assetssource: C++ implementation filesCMakeLists.txt: build rules for that extension
Translations and icons#
Translations use Qt's internationalization mechanism. Icons are regular image assets that you should replace early so your extension is distinguishable in the UI.
Typical places where icons appear:
- an app icon in Home > Apps
- an editor icon in the editor tool area
- a model or controller icon in property windows
Generated code#
The generated source contains comments that explain the intended customization points. Search for SAMSON Extension generator pro tip to find the places that usually need developer action.
For a first pass, focus on:
- window title, tooltip, and icon metadata
- the main action or interaction entry points
- serialization or settings persistence if your class stores state
- the GUI form and the signals connected to it
Tip
See the Tutorials section for examples of various extensions.
Next step: build the generated extension.