

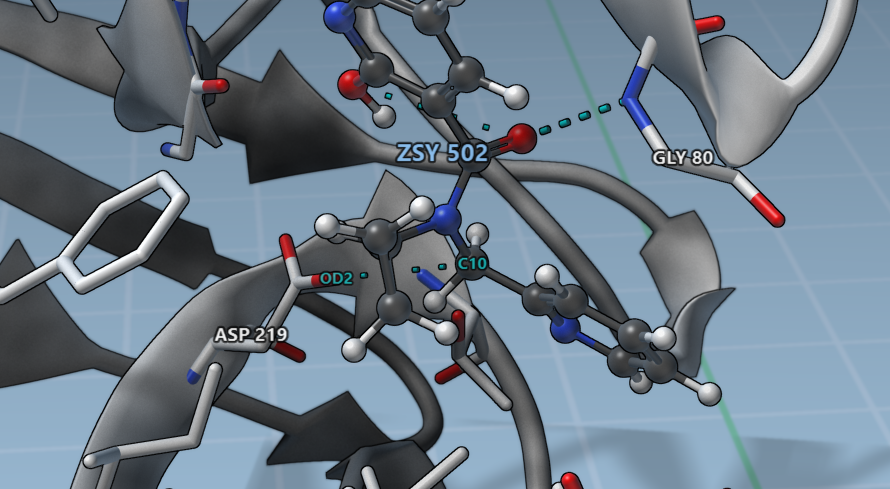
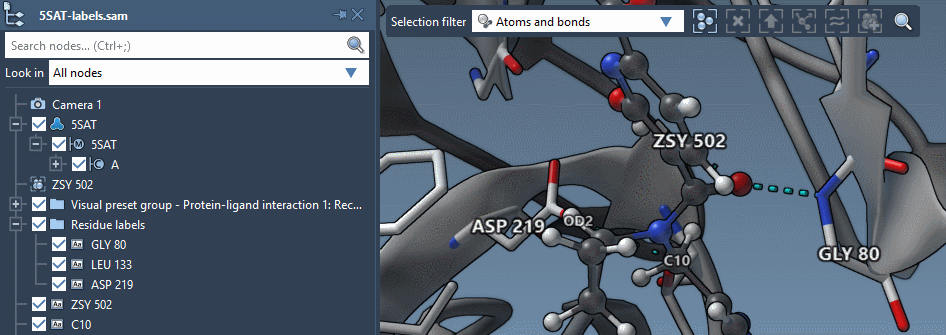
A label is a type of a node that is stored in the document and depicts some text in the Viewport. The label can contain a node's name, a text describing a group of nodes, or some measurement.
In this section, we will show how to add labels and modify them (change their visibility, font, color, and positions).
Note: If you save your document in one of the SAMSON file formats (.sam or .samx), labels will be saved as well.
See also: Selecting, Inspecting, Colorizing.
Adding labels
You can add labels to selected structural nodes via their context menu or by clicking on nodes directly in the Viewport.
Note: Labels cannot be added to all types of nodes but mainly to structural nodes (molecules, residues, atoms, etc).
Adding labels to selection
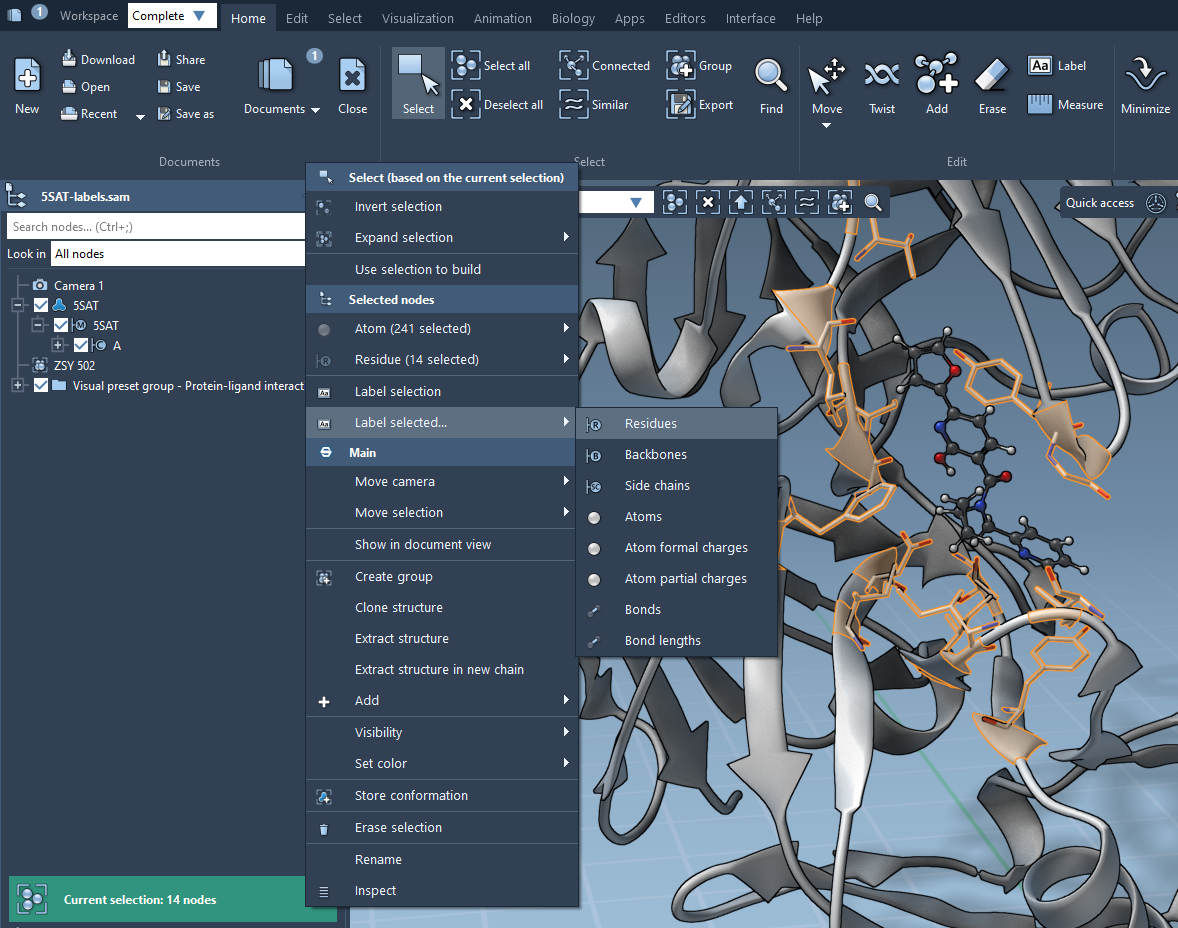
To add labels to selected nodes, right-click on them and, in the context menu, choose:
- "Label selection" - this will add a single label for the currently selected group of nodes (this does not add labels to descendants of the selected nodes but only to the directly selected group of node).
- "Label selected..." - you can choose to what type of nodes to add labels, including descendants of the currently selected nodes, for example to all the residues in the current selection.
Adding labels in Viewport
To add labels in the Viewport, first, you need to activate the Label editor (shortcut: Ctrl/ Cmd⌘ + L or Home menu > Edit > Label or Editors menu > All > Label).
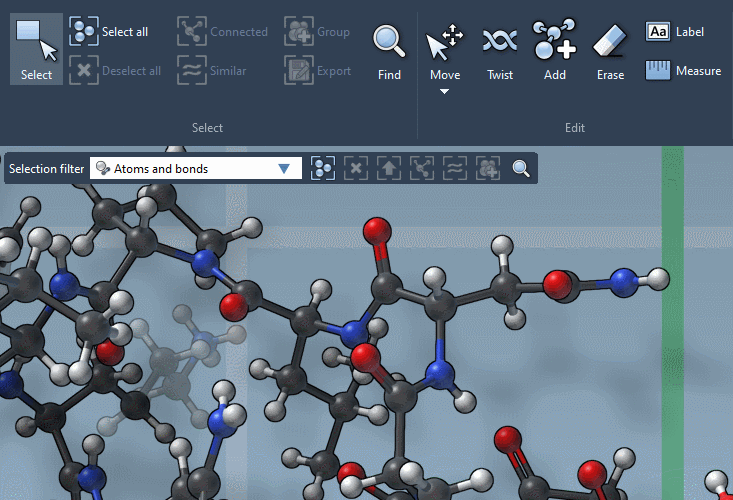
Please note, that the type of node to which a label will be added depends on the current Selection filter. For example, if it is set to "Atoms and bonds" then labels will be added to atoms or bonds, if it is set to "Residues" then labels will be added to residues.
You can also right-click on a selection in the Viewport to add labels to the selection as described above.
Visibility of labels
You can switch on/off the visibility of labels in the Document view by ticking/unticking them.
The visibility of labels changes progressively when zooming in and out on the system. When zooming out, the labels for smaller nodes (e.g., atoms) will start to disappear and the labels for larger nodes (e.g., molecules) will start to appear, and vice versa when zooming in.
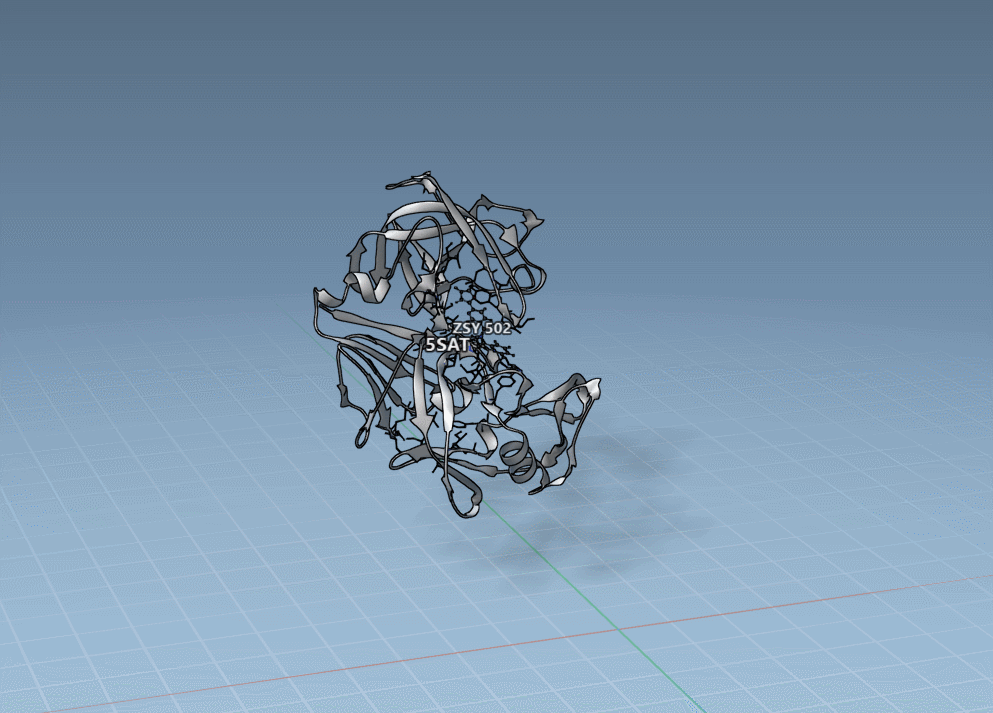
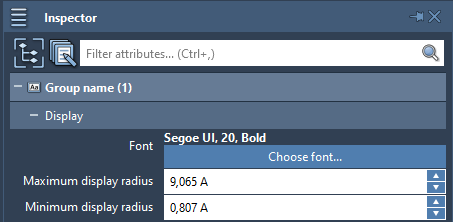
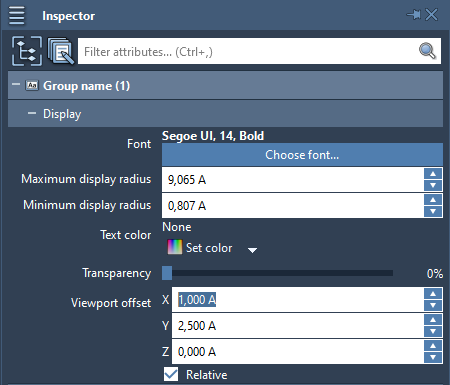
You can modify when labels appear and disappear. For that, select a label and, in the Inspector, change maximum and minimum display radii - these parameters govern when the label is visible.
Changing font of labels
You can modify the font for all the labels or just for a group of labels.
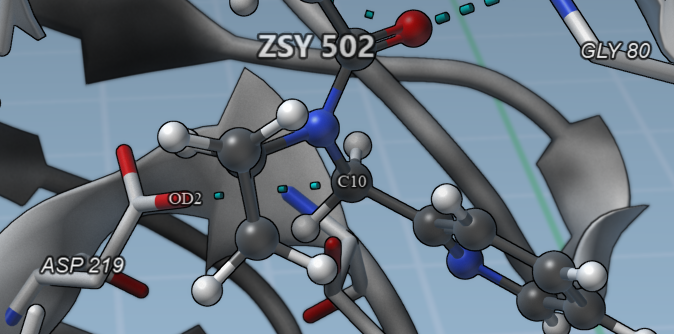
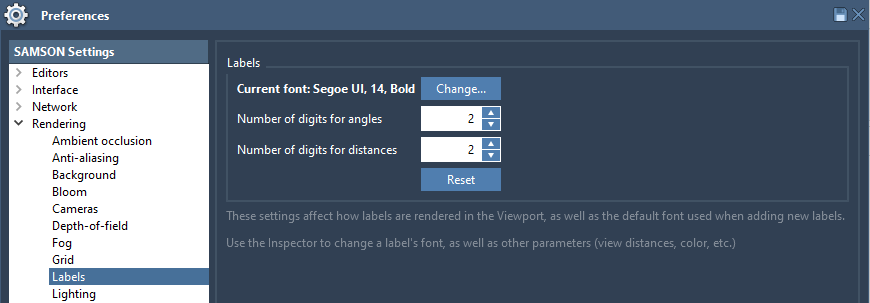
To modify the font for all the labels for which the font has not been specified directly, open the Preferences > Rendering > Labels and change it there. You can also modify there the number of decimal places for angles and distances shown in labels which is useful for labels created using the Measure editor.
To modify the font for a label or a group of labels, select them and open the Inspector. In the Inspector, click on "Choose font..." to modify the font for the last selected label or for all selected labels at once if you choose to Edit all selected nodes.
See the Inspecting - Controls section for more information on how to use the Inspector to modify attributes for a single node or multiple selected nodes.
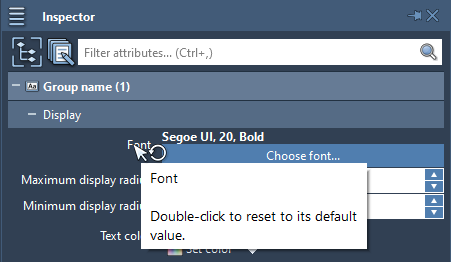
To reset the font for labels to the one specified in Preferences, select these labels and, in the Inspector, double-click on the "Font" as shown in the image below.
Colorizing labels
Labels can be colorized as many other nodes.
You can change the color of a label as follows:
- right-click on a label in the Document view, then, in the context menu, go to Set color > Constant and choose a color from the pop-up dialog.
- select a label and in the Visualization menu > Colorize click on a color.
- select a label and in the Inspector click on "Set color":

You can reset the label's color to the default one in the same way.
You can also modify the transparency of labels in the Inspector.
Selecting labels in Viewport
Apart from selecting labels in the document, you can select them in the Viewport as well.
The level of selection in the Viewport is governed by the Selection filter, so first you need to set it to "Labels" and only then you can select labels in the Viewport.
Note: Only the visible labels will be chosen.
Do not forget to switch the Selection filter if you want to select other types of nodes in the Viewport later.
Moving labels
When labels are created they are placed at the geometric center of the node and they are always situated in the Viewport plane.
You can move labels using one of the following ways.
Select a label and change its viewport offset in the Inspector.
Set the Selection filter to "Labels" and use the Move displace editor (shortcut: D).
Select a label in the Document view and use one of the Move editors to move it, but not the Move displace editor which requires the Selection filter to be set to "Labels".
