SAMSON provides various rendering options (styles, special effects, etc) to help you create beautiful visualizations and animations:
- Ambient occlusion
- Anti-aliasing
- Background
- Bloom
- Depth of field rendering
- Fog
- Lightning
- Pinhole
- Shadows
- Silhouettes
You can change these rendering effects in:
- Visualization menu > Rendering > Options which gives you a quick access to switching them on/off and switching between their presets.
- Rendering section int the Preferences panel which gives you more control over their paramters.
You can try the following interactive tutorial in SAMSON (Help menu > Tutorials): "Visualization: rendering parameters".
From this section, you will learn about the main rendering options and their parameters.
See also: Visualizing, Rendering using Cycles
Ambient occlusion
Ambient occlusion improves the perception of depth in molecules, by simulating the fact that deeper regions are less accessible to light, and are thus darker.
Two types of ambient occlusion are handled in SAMSON:
- Screen-space ambient occlusion efficiently provides an approximate simulation, but is sensitive to the distance to the camera.
- Object-space ambient occlusion is more realistic, but slower. Even screen-space ambient occlusion is very useful to improve depth perception however.
The ambient occlusion settings may be changed in the Rendering / Ambient occlusion section of the Preferences panel:
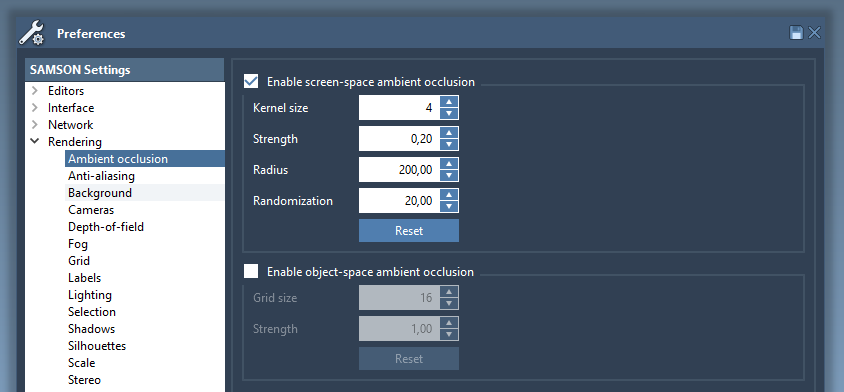
The screen-space ambient occlusion can be switched on/off in one click in the Visualization menu > Rendering > Options.
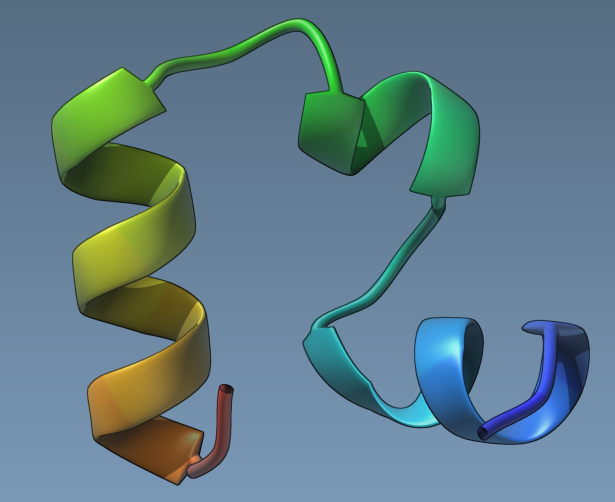
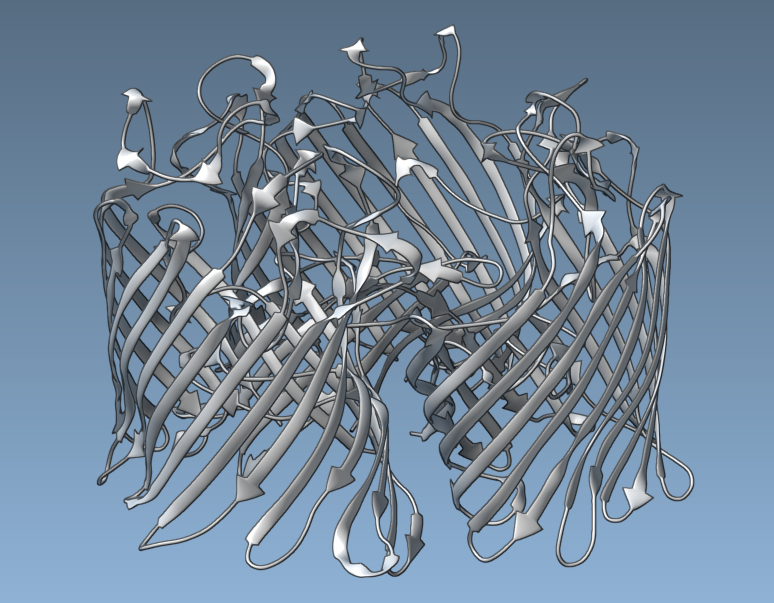
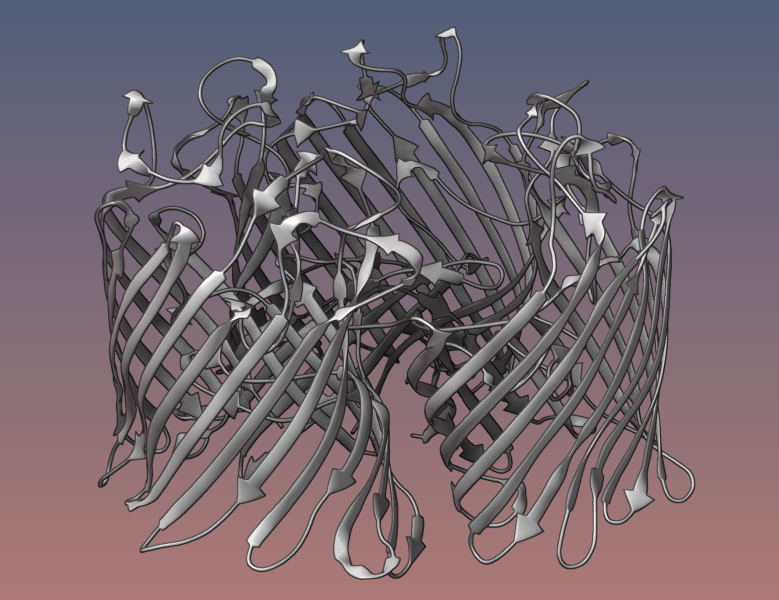
Here is the Ribbons visual model of 1AF6 without ambient occlusion:
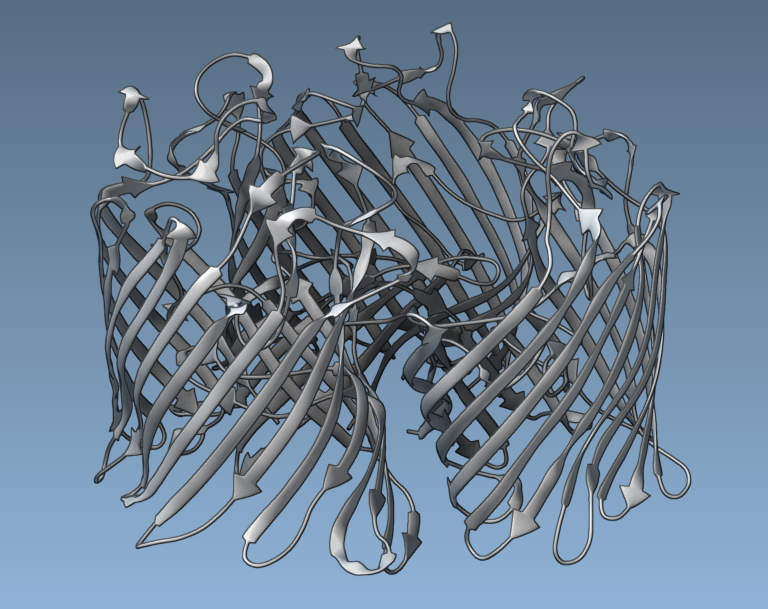
And here it is with enabled screen-space ambient occlusion:
Anti-aliasing
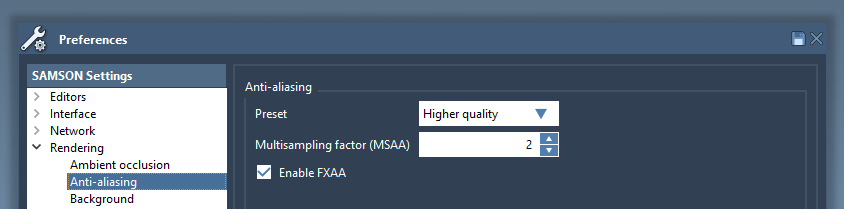
Anti-aliasing removes jagged edges from images, and may significantly improve rendering. The anti-aliasing settings may be changed in the Rendering / Ambient occlusion section of the Preferences panel. Fast Approximate Anti-Aliasing (FXAA) is typically very efficient, and can be activated on most recent graphics cards.
Note: Anti-aliasing requires more rendering from your GPU and therefore may slow-down the visualization for big systems.
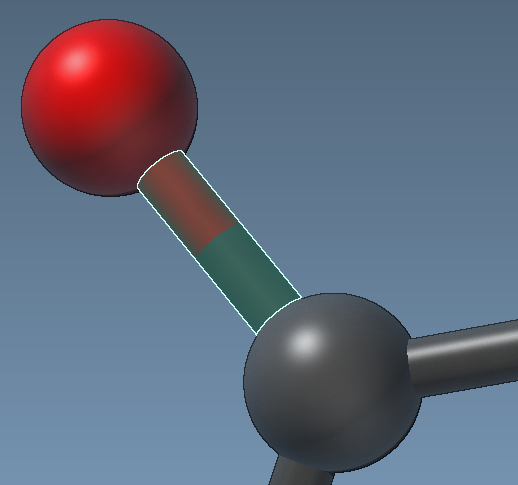
Without anti-aliasing (choose Best speed from the list: multisampling factor set to 1, no FXAA), edges are very visible:
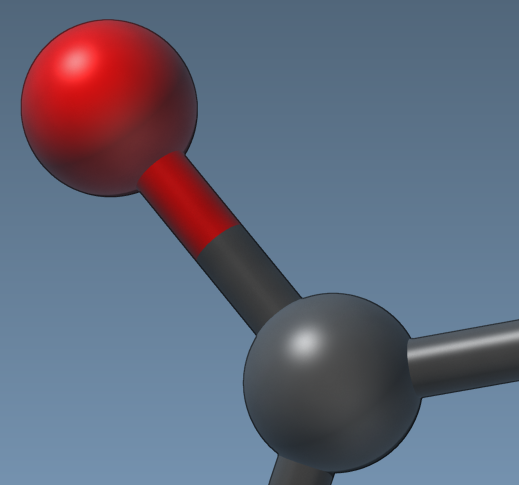
With FXAA and multisampling set to 2 (choose Higher quality from the list), edges are much smoother, and pixel boundaries are much less visible:
Background
The background color of the viewport may be changed in the Rendering / Background section of the Preferences panel:

Four options are available:
- SAMSON: the default SAMSON background;
- Black: an entirely black background;
- White: an entirely white background;
- Custom: a gradient from a user-defined top color to a user-defined bottom color;
- Image: you can set an image as a background.
Let's try to set a custom gradient background by choosing Custom and modifying the Custom top color and the Custom bottom color.
You can switch between different backgrounds easily in the Visualization menu > Rendering > Options and in the bottom of the Viewport.
You can always return to the default SAMSON background color.
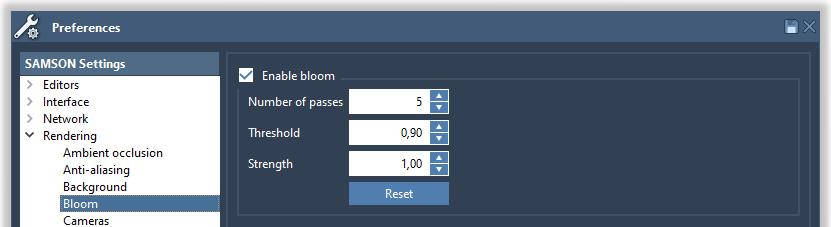
Bloom
The bloom rendering effect produces highlights of the brightest parts of the image.
The bloom settings may be changed in the Rendering / Bloom section of the Preferences panel:
The bloom can be switched on/off in one click in the Visualization menu.
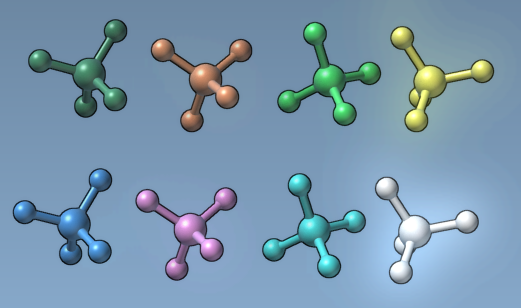
Here is an example of the bloom effect:
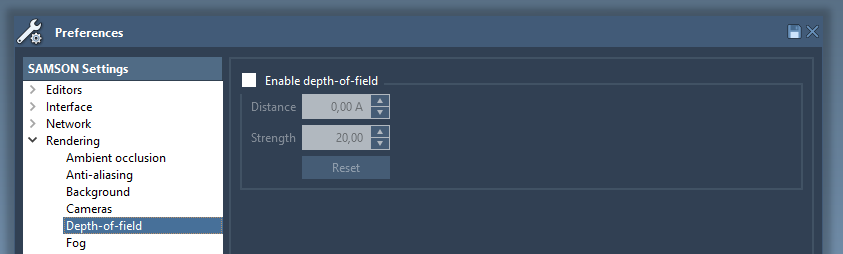
Depth of field rendering
This effect simulates the depth of field effect produced by actual cameras (e.g. blurred distant objects). If enabled, when you zoom in the molecule its distant parts will be blurred. The depth of field settings may be changed in the Rendering / Depth of field section of the Preferences panel:
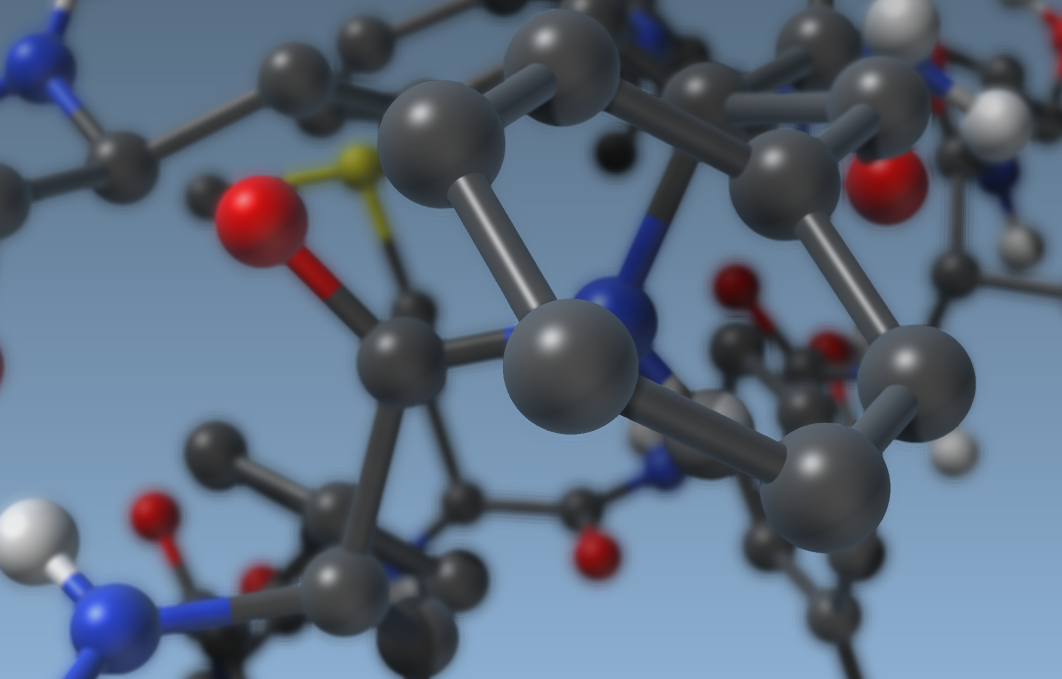
Turn the depth of field on, set the strength to 80 and zoom on a molecule.
The depth of field can be switched on/off in one click in the Visualization menu.
Fog
Basically, fog makes distant objects less visible. Fog attenuates distant parts by blending them progressively with the background. Turn it on to make it easier to focus on the foreground.
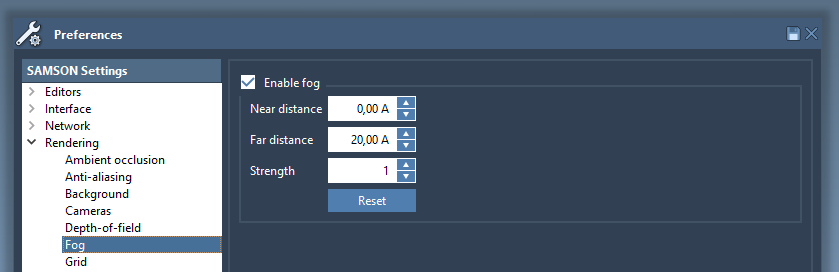
The near and far distances are based on the camera location and determine where the fog is enabled. Before the "near distance" there is no fog, after the "far distance" every node is invisible. The "strenght" parameter influences the speed at which the fog is appearing.
The fog settings may be changed in the Rendering / Fog section of the Preferences panel:
The fog can be switched on/off in one click in the Visualization menu.
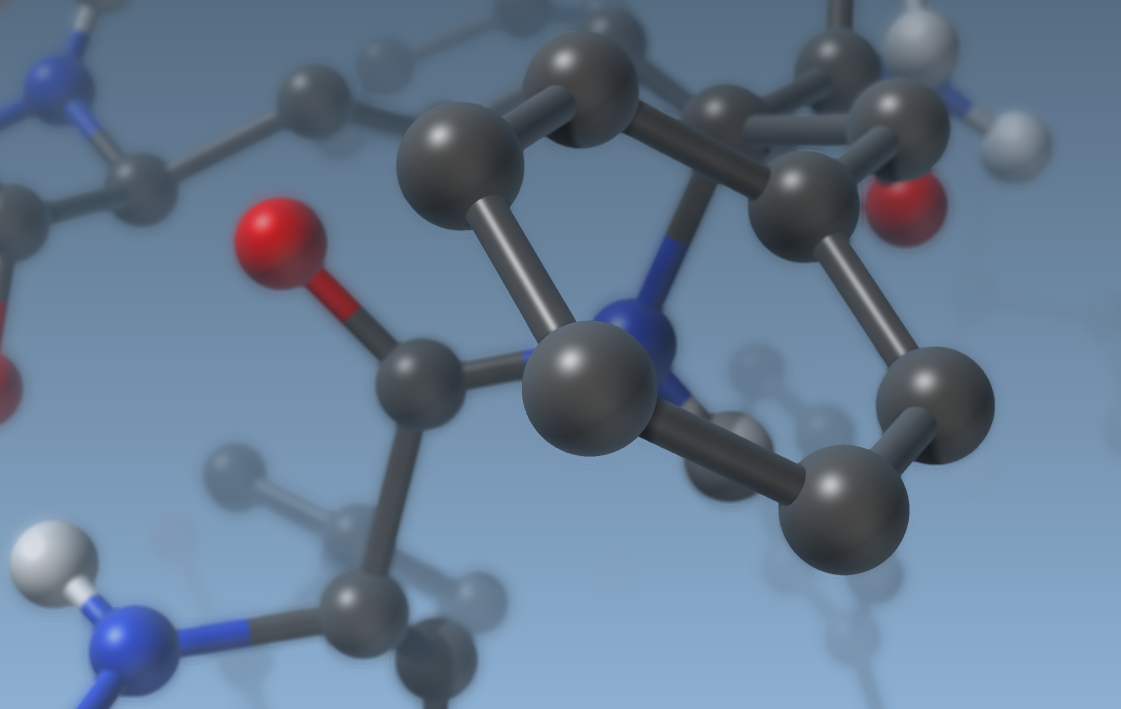
Here is 1YRF again with both depth of field and fog:
Lightning
In SAMSON, lighting can be modified in the Rendering > Lightning section of the Preferences panel:
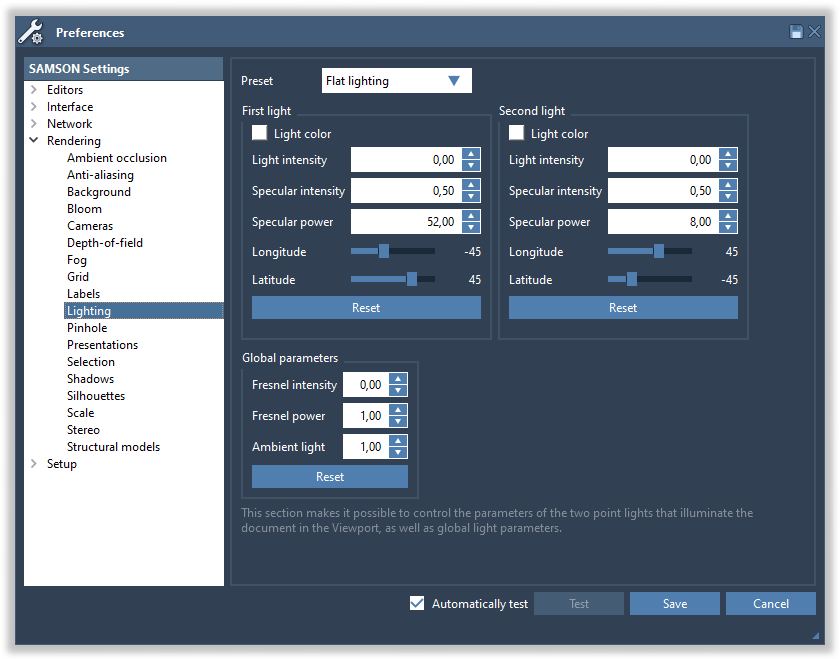
This section makes it possible to control the parameters of the two point lights that illuminate the document, as well as global parameters. Each light has the following parameters:
- Light color: click the square to change the color of the light
- Light intensity (between 0 and 1): the intensity of the light
- Specular intensity (between 0 and 1): the intensity of the light reflection on surfaces. High values make surfaces look like plastic, while low values make surfaces look matte.
- Specular power (between 0 and 1000): the decay of specular reflection. High values produce sharper specular reflections.
- Longitude and latitude control the position of the light.
The first light is typically the main light, which is thus typically brighter than the second light (a “back light”).
Finally, three more parameters are global:
- Fresnel intensity (between 0 and 1): the amount of background light reflected at grazing angles
- Fresnel power (between 0 and 100): how fast the Fresnel effect decays
- Ambient light: the amount of light that reaches objects, even when the intensity of both lights is set to 0.
Try changing all parameters and see the impact on rendering (switch on the Automatically test check box in the bottom).
You can easily switch between various presets for lighting either in Visualization menu > Rendering > Options > Lighting or in Preferences > Rendering > Lightning.
if you want to reproduce the flat lighting, set the light intensity for both first and second light to zero, the ambient light to 0.8, and the Fresnel power to zero.
Pinhole
The pinhole rendering effect makes objects less visible when they are far from the center of the viewport.
The pinhole settings may be changed in the Rendering / Pinhole section of the Preferences panel:
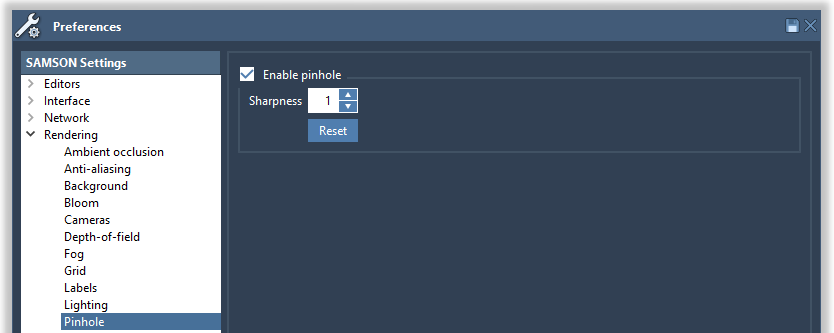
The pinhole can be switched on/off in one click in the Visualization menu.
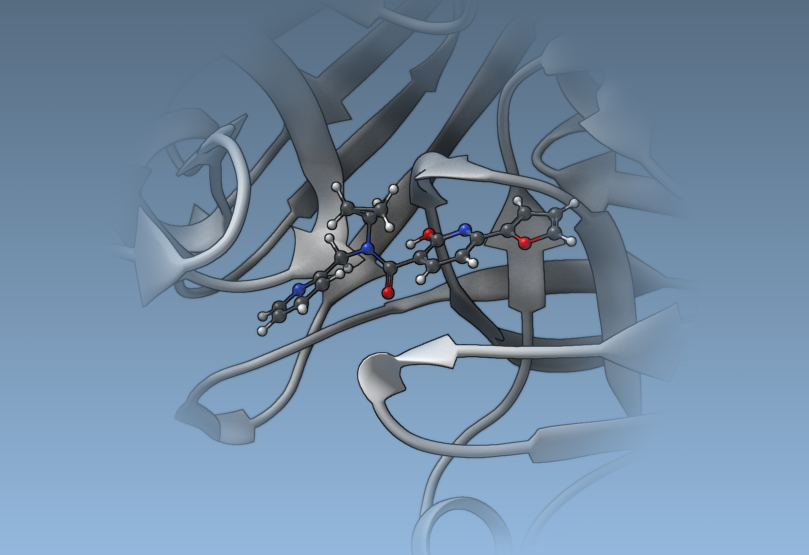
Here is an example of the pinhole effect:
Shadows
Shadows are particularly helpful to improve the perception of relative positions.
Note: In case of an old graphics card you may want to either disable this option, or choose the lower preset.
The shadows settings may be changed in the Rendering / Shadows section of the Preferences panel:
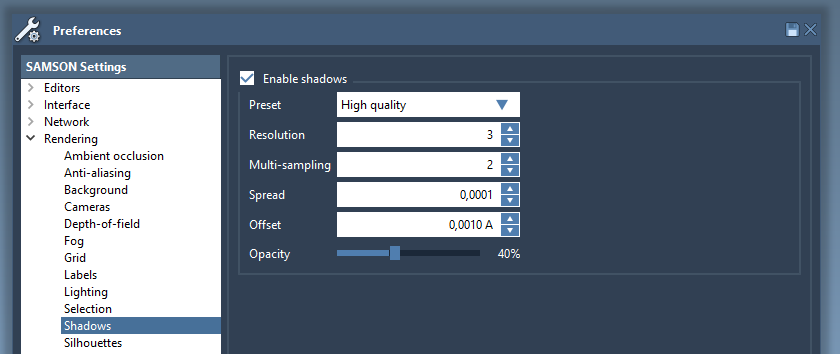
The shadows can be switched on/off in one click in the Visualization menu.
Without shadows, it may be difficult to perceive the relative positions, e.g., of 1YRF to the graphene sheet behind it:
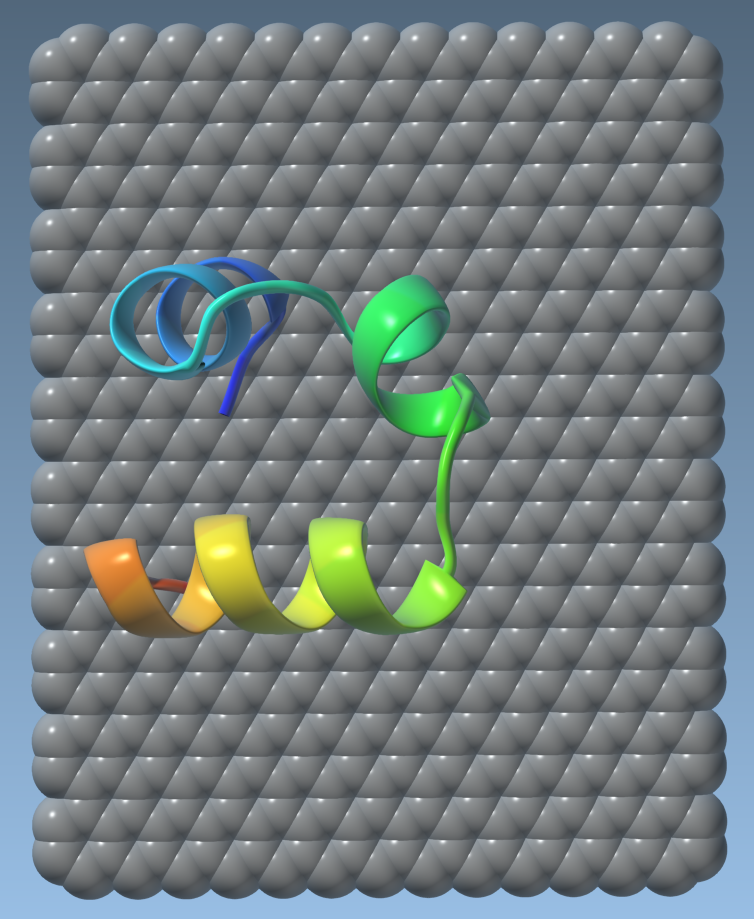
With shadows, however, this becomes much easier:
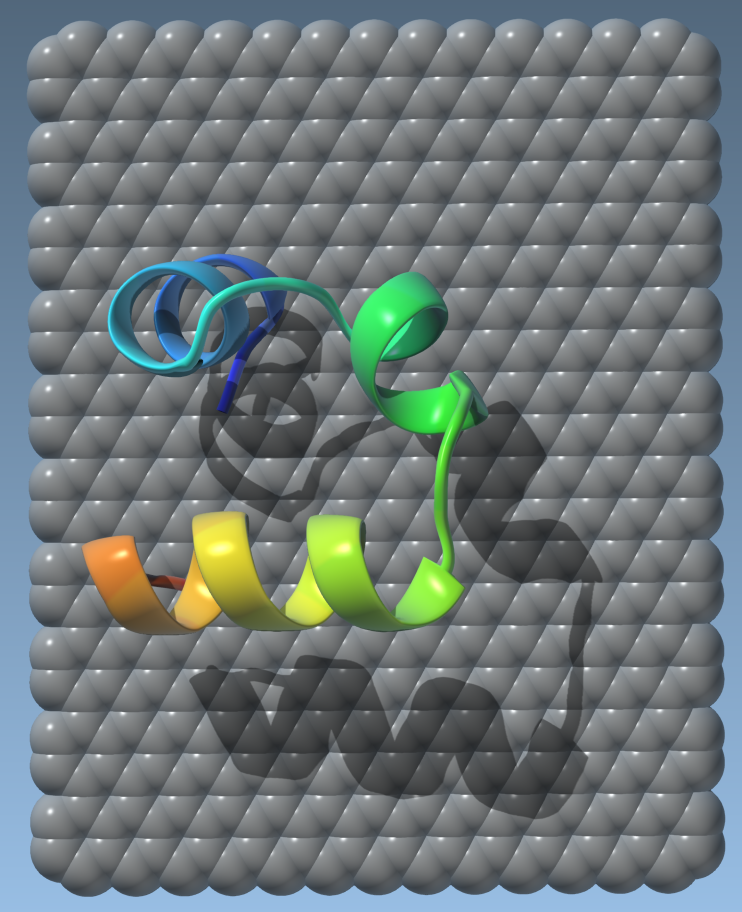
Silhouettes
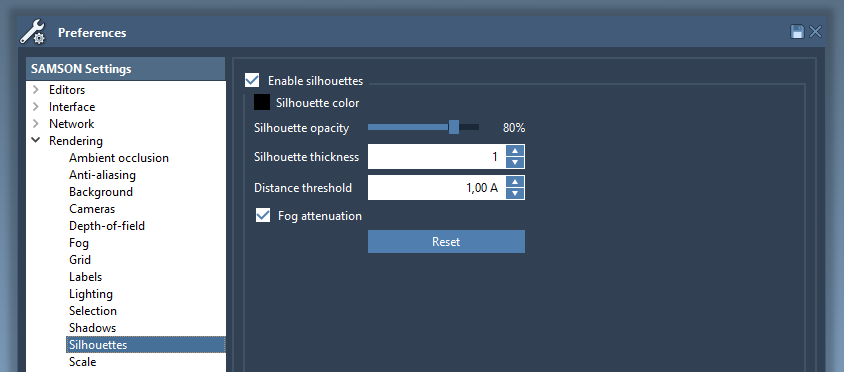
Silhouettes make it easier to separate regions with different depths. The silhouettes settings may be changed in the Rendering / Silhouettes section of the Preferences panel.
The silhouettes can be switched on/off in one click in the Visualization menu.
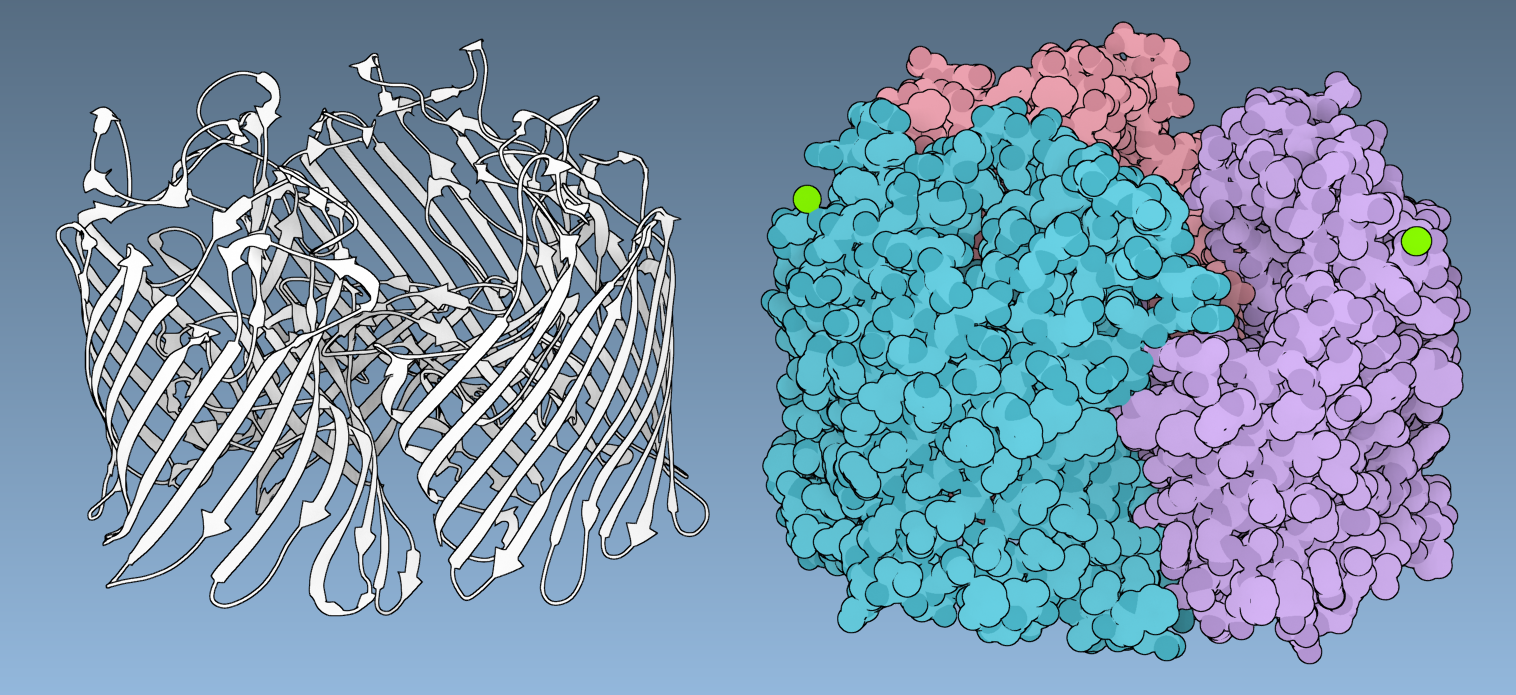
Let's create the Ribbons (secondary structure) visual model for 1YRF molecule and enable silhouettes with the thickness set to 1